Leaderboard


Popular Content
Showing content with the highest reputation on 07/19/2022 in all areas
-
http://www.togasim.com/mu2docs/2 points
-
Looks like the transponder mode for Mode C is 3...even though it says TEST above. For V12, '3' will be Mode C. Since the source code inidcates that >= 2 is mode C, I'll set it to 3 and that way it should work for you and be rady for V12 as well. -TomK2 points
-
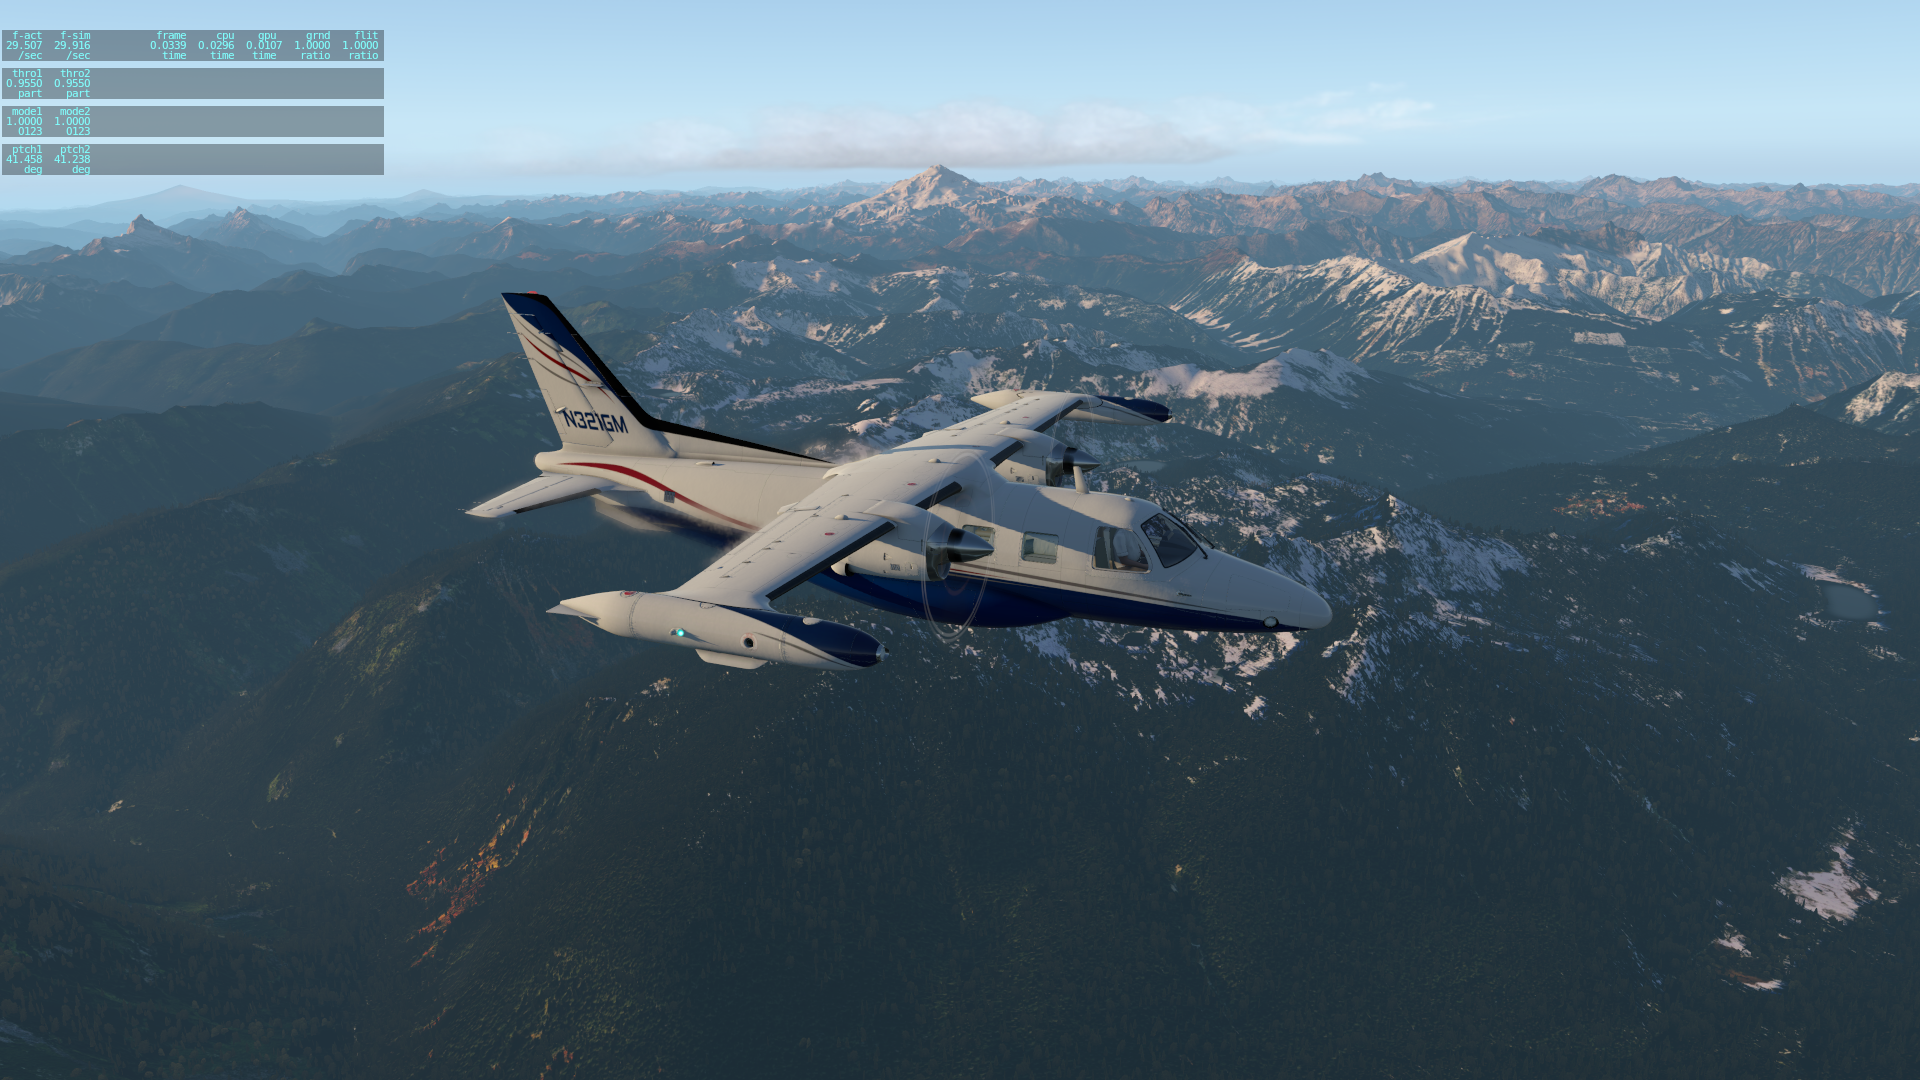
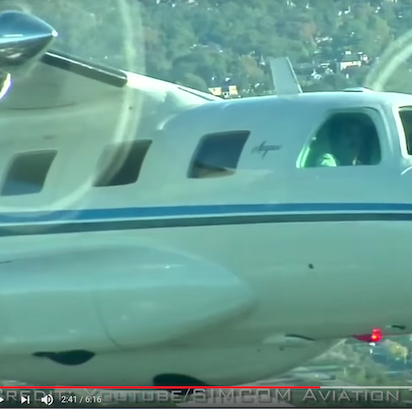
Just a note to say Thank YOU! Took it for a spin this evening over the mountains towards Wenatchee, Washington.

 2 points
 -
Here is my Simbrief profile for the Moo. The profile is based from the Kingair BE20. The weights are accurate. Nevertheless, the fuel calculation is necessarily approximate, because you cannot create a profile from scratch in Siembrief. The fuel consumption should be less than 250 pounds per engine and per hour, so around 450-500 pounds per hour. Of course without reserve, alternate and winds calculations. I will check this on my next flights and maybe update the profile using the P000 option. Payload : 9 passengers, 85kg each (187 pounds), 55 pounds for the luggage. The equipments of the aircraft are very basic. I use the model with GPS. I did not fill the PBN field (the Kingair BE20 has not). https://www.simbrief.com/system/dispatch.php?sharefleet=30045_1658249223478 All suggestions welcome in this topic1 point
-
RC1: Paint Kit includes 4 Photoshop files and *.fbx file of "paintable surfaces" for import into 3D programs for painting purposes only. 3D mesh is property of TOGA Sim and not to be used for anything other than personal livery painting and is not to be distributed or used for any other purpose. While the docs section for liveries are sparse at the moment, there is a brief graphical of what each exterior object contains. RC2: Fixed UVs for tip tank Fasteners. new *.fbx. All other files same as RC1. http://togasim.com/mu2docs/supplements/paint_kit.html TOGAsimMU-2_Paint_Kit_RC2.zip1 point
-
Thx Jerry, I put it in the Bug tracker for the Moo1 point
-
That is correct, but make sure 1) AP is engaged and 2) you're not in ALT mode (that's got me several time). My method for "altitude change"....FWIW....is to set the ALT preselect first (if desired), then disconnect ALT mode (if selected), then adjust the pitch trim wheel to get the VS desired...then hit VS...and finally...hit ALTSEL to arm the altitude capture (if you want). -TomK1 point
-
It alternates the taxi lights (located on the tip tanks) like this. Helps increase visibility and scare away birds. Becoming very, very popular in the GA/bizjet community and even on some airliners.1 point
-
No worries...if developers gracefully accept that we're all probably equally capable and creative, but only differ in what we get around to implementing for all sorts of diverse reasons.....time, market, resources, our own limited experiences....who knows... and not some kind of measure of who's smarter, then we all win. Your 'snapping' flap controls with FLAP axis are in place for the next update -TomK1 point
-
For the early-birds https://forums.x-pilot.com/forums/topic/24825-toga-simulations-mu2-version-20-paint-kit-rc1/1 point
-
FYI, This is a tougher geometry to paint than most are used to, especially the tip tanks. The 3D was optimized for UV space, not ease of painting. If you look at the C-FRWK exterior_5_ALB tip tank stripes...you'll see what I mean. Its for this reason I provide the *.FBX file for import in to Blender/Substance. My preferred technique is to use Blender (import the FBX) and use "projected closed bezier curves" via the "knife project" tool to cut the stripes and patterns into the 3D mesh itself mesh. These resultant 'graphics meshes' are then rapidly baked into "graphics masks" that you can overlay on the UV for tracing with a pen tool.. or bring into Substance as a mask.1 point
-
The paint kit is not officially posted...because I want to add more instructions; however, paint kits are "extra" and come with no guarantee of quality :P.....so I can post it the way it is if you like.....because most livery painters are used to the "mess" of layers, and assets and can usually make sense out of it anyhow. Anybody interested? Once I get all the initial bugs and hardware settled, I'll also get that paint kit cleaned up a bit for future folks. If anybody is willing to take it as it is now, let me know and I'll get it uploaded as a "beta" version of the paint kit The paint kit is 4 photoshop files, plus 5 additional "mask image" pngs and a *.fbx file of all the paintable surfaces that can be imported into blender of Substance.1 point
-
Hi guys! could you please re-upload the paint kit ,the links are down, thank you very much!1 point
-
baro command implemnted, plus NEG flag
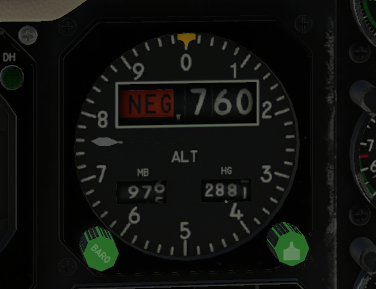 1 point
 -
@Ch.Cole I took your script and did a bit of modification to add some gates. There is a "lift levers" command to bind to allow you to pull the levers back. Barely tested, but it might be useful to someone else until we have gates natively. @tkyler as far as I'm concerned, feel free to use this code as inspiration or wholesale in the Mu-2. My bits are the THR_set functions mu2_throttle_helper.7z1 point
-
Sorry for the late response. I hate to compare developers because it doesn’t really do anything but I will for this. The Aerobask Phenom has it so you can set a flaps axis but it will just click between the flap settings. Not sure what the developer lingo for that would be but I guess it sets dead zones or something until the axis hits a certain value then sets the flaps to that detent.1 point
-
You are definitely not doing anything wrong. The TPE-331 sim in XPlane is relatively generic. Getting accurate numbers out of the engine for X-Plane is easily a multi-month affair of nothing but flight testing and wrangling with X-Plane to hopefully get close. Once we get the interface and operational kinks worked out, we will look at improving performance numbers. I suspect before its all over, I will have completely overriden X-Plane's engine model.1 point
-
So I can confirm that it did load. After doing what you said.1 point
-
There are a few bugs and missing features on Linux that I'd need to work through. The build process is the least painful part of it. Once it's sorted out it's just a bunch of scripts to run. It's the support for random Linux flavours that is the killer issue. We end up with weird dynamic library dependency issues... There's a few torquesim threads from the last year where these things have popped up. No timeline. No promises. Definitely a chance that win11 might bring more people to that segment, I'm still on win10..1 point
-
I actually tried early on, but wasn't happy with either the sound samples I had....nor the hardware handling till last night The new throttle mappings will come out at the next update. With the implementation of the "TBM-style" throttle option, this will make implementing those sound much easier across differing configurations. So really its a matter of getting just the right samples...and once I have those, putting those sounds in is a 30 minute affair...at which point we can get it out to you guys. So yes...definitely on a short todo list. -TomK1 point
-
I found that I can cover (nearly) all Linux users by providing one build for the Ubuntu and one for the Arch Linux distribution family. Unfortunately I haven't found a way yet to create a build catering to both, Ubuntu and Arch based distributions (experience gathered with the FSEconomy client). With the M1 architecture, Mac also adds an additional required build, bringing the total up to 5 builds (Win, Intel Mac, M1 Mac, Ubuntu, Arch).1 point
-
FWIW, I've already provided a preference to "expose manipulators" with hardware....so they'll always be exposed if you choose. I'm pretty sure we can get everyone accomodated with time. I just have to work through each of the use cases and my uses cases are probably much more limited than consumers.1 point
-
Dear All, I prefer to have my own reg num on my plane especially when I go on Pilotedge ;-) Also, while we wait for the official Paint Kit I have made a template for you to get your own reg with Photoshop: ie just change the reg num on the text field layers after downloading and installing the Google Font Karla. You will then need to convert the .png 24 you will export with Photoshop into a .dds file with Xgrinder (free). Enjoy, Cheers, C Exterior_3_ALB.psd
 1 point
 -
Some impressions from this morning's flight (EGLC - EGGD) - this time in the 4 blade OEM version:


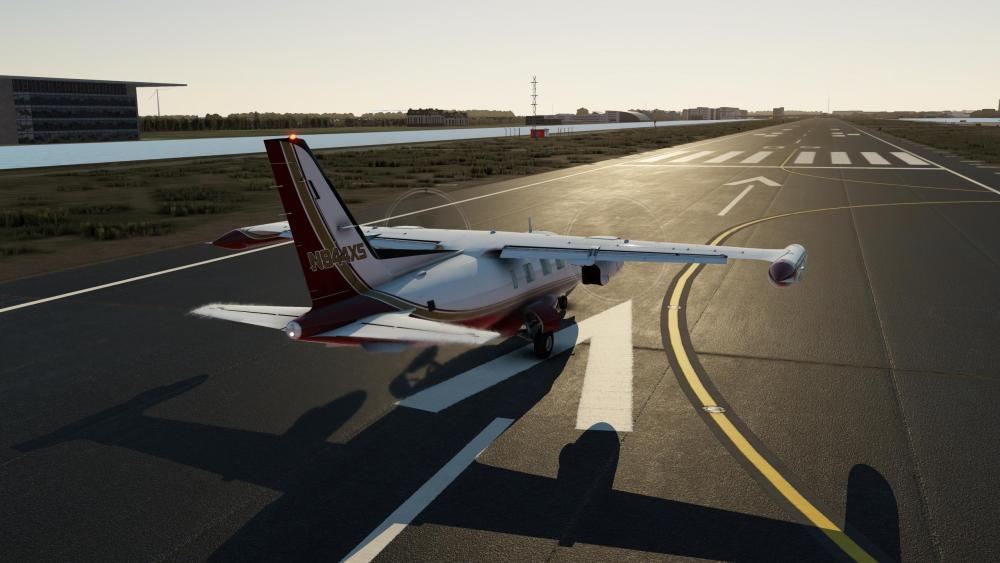
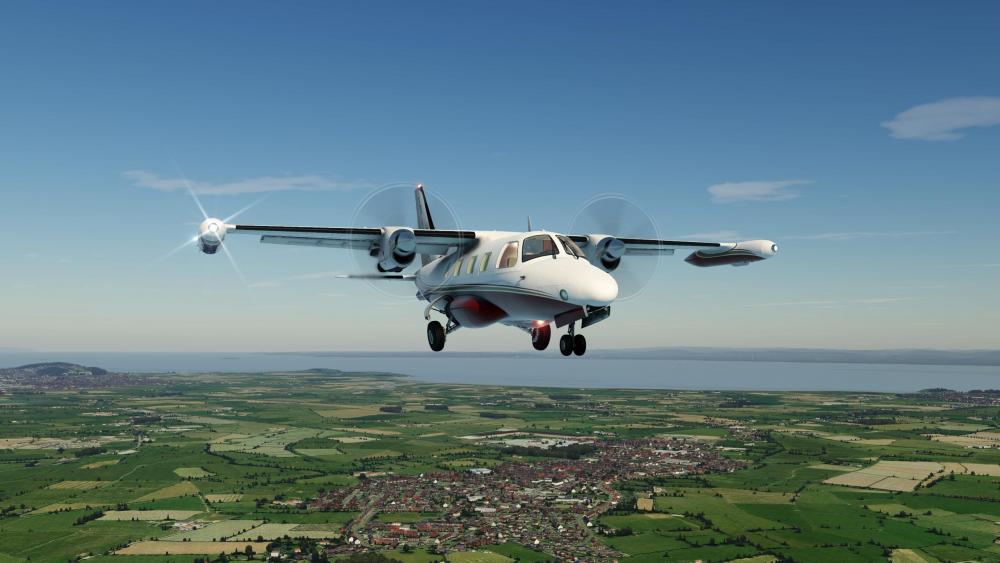 1 point
 -
Man....I fooled everybody on version 1.x so I wouldn't have to model that complex front gear door!


 1 point
 -
Better don't copy folders manually; there's an installer for the G500. Just follow the instructions provided in the manual1 point
-
View File Hot Start Challenger 650 - OO-WEG This livery for the fabulous Hot Start Challenger 650 is adapted from a real world CL350 registered as OO-WEG. I hope you'll enjoy it. To install simply copy the "OO-WEG" Folder into xplane directory/Aircraft/X-Aviation/CL650/liveries Don't hesitate contacting me if you find errors or have suggestions in improving this repaint. Please do not redistribute this repaint without my permission. Submitter luke_1549 Submitted 07/16/2022 Category Hot Start Challenger 650 Livery For https://www.x-aviation.com/catalog/product_info.php/take-command-hot-start-challenger-650-p-2121 point
-
Link to Aviation International News article about Hot Start's CL650 Desktop Sim Developer Addresses Bizjet Market | Business Aviation News: Aviation International News (ainonline.com) Desktop Sim Developer Addresses Bizjet Market _ Business Aviation News_ Aviation International News.pdf1 point
-
Hope it brings in a ton of sales. He more than deserves this..... Peter K1 point