Leaderboard


Popular Content
Showing content with the highest reputation on 03/11/2022 in all areas
-
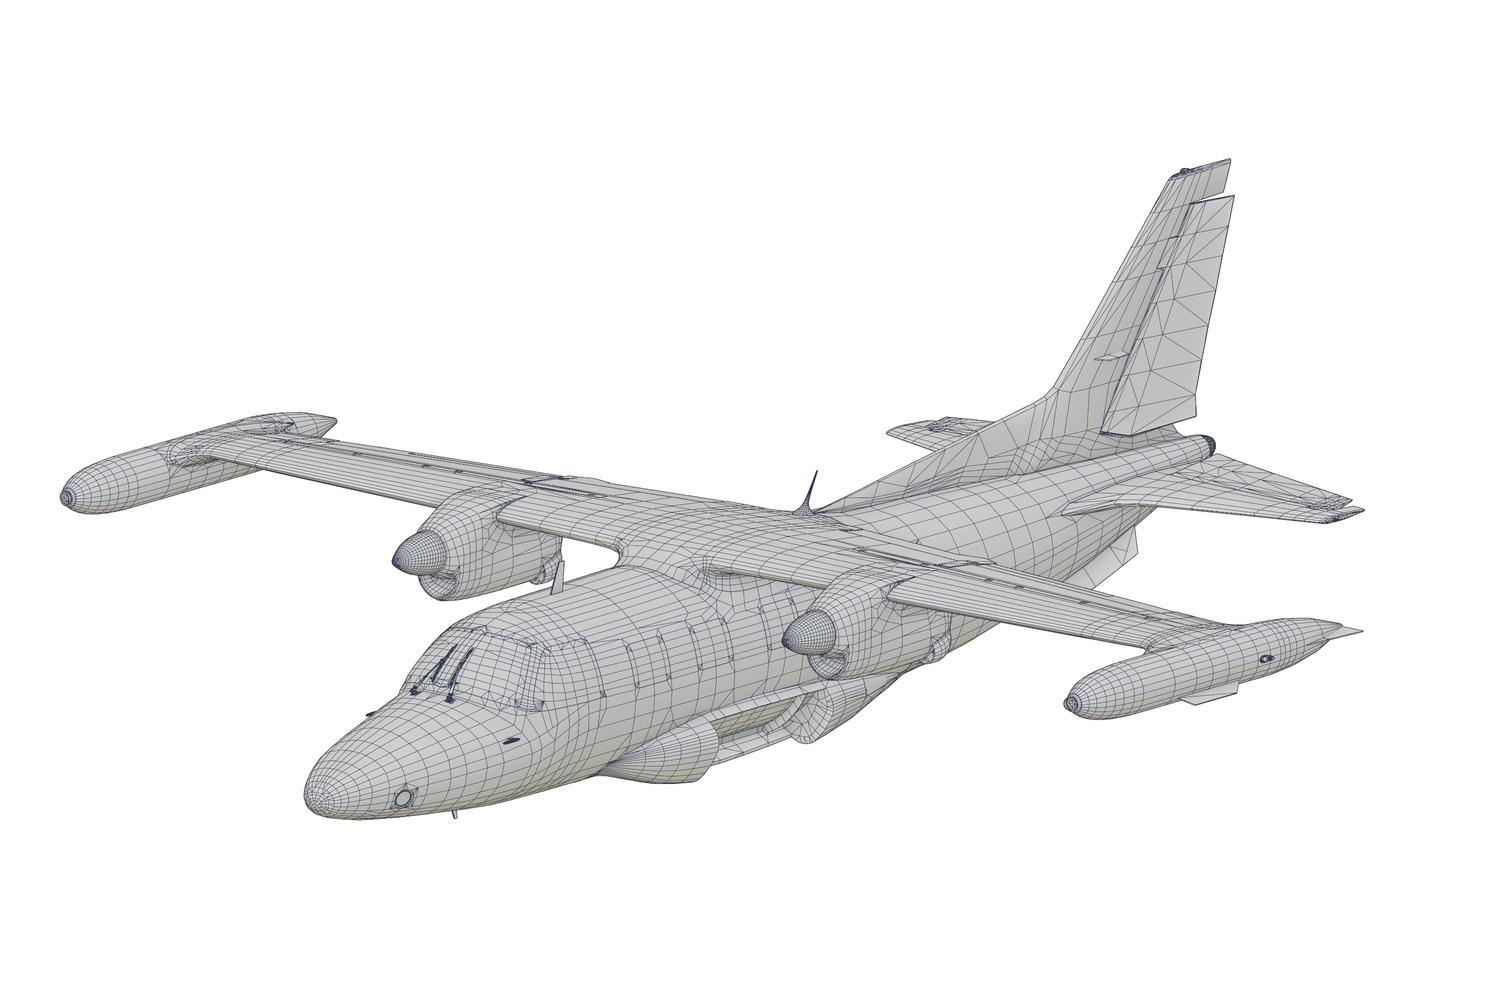
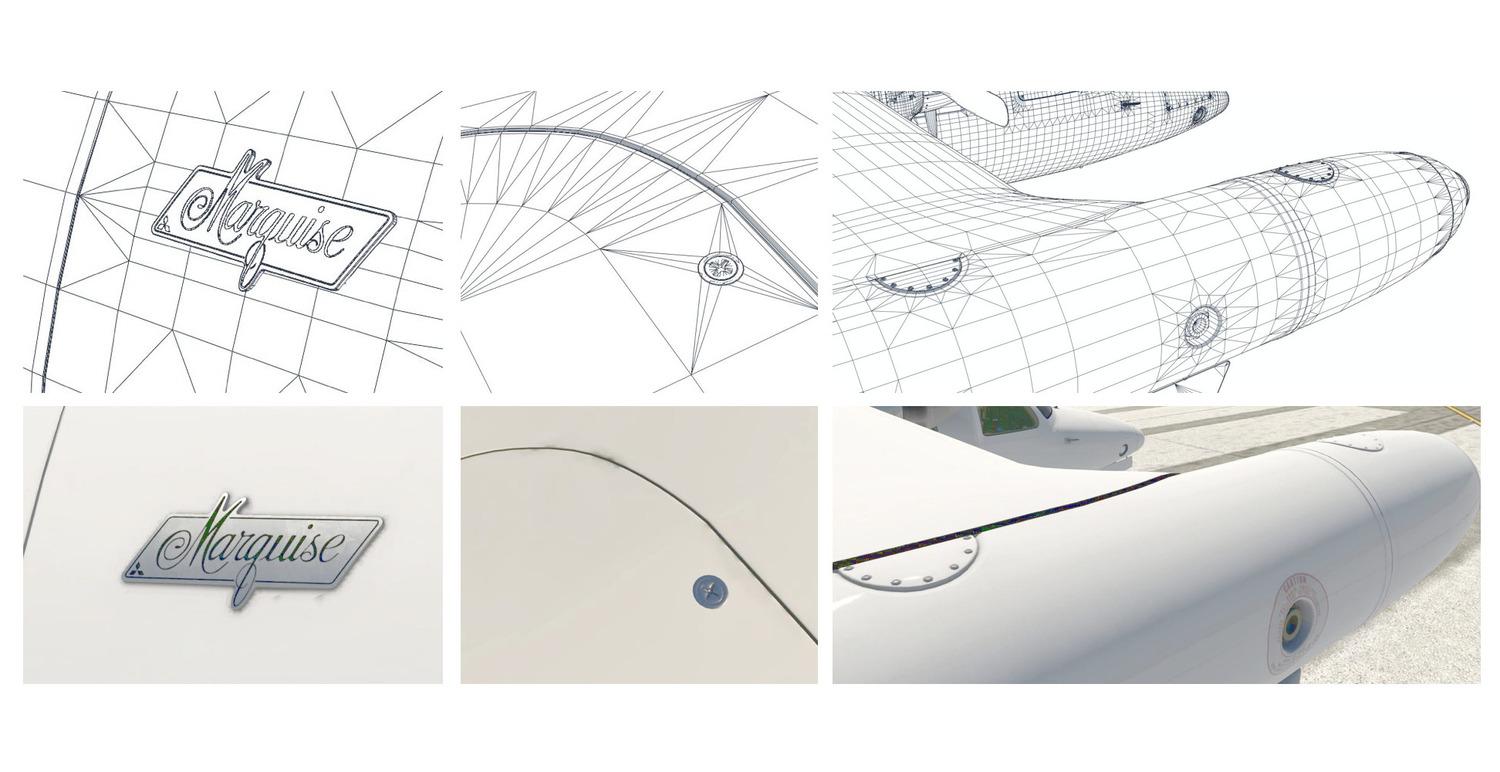
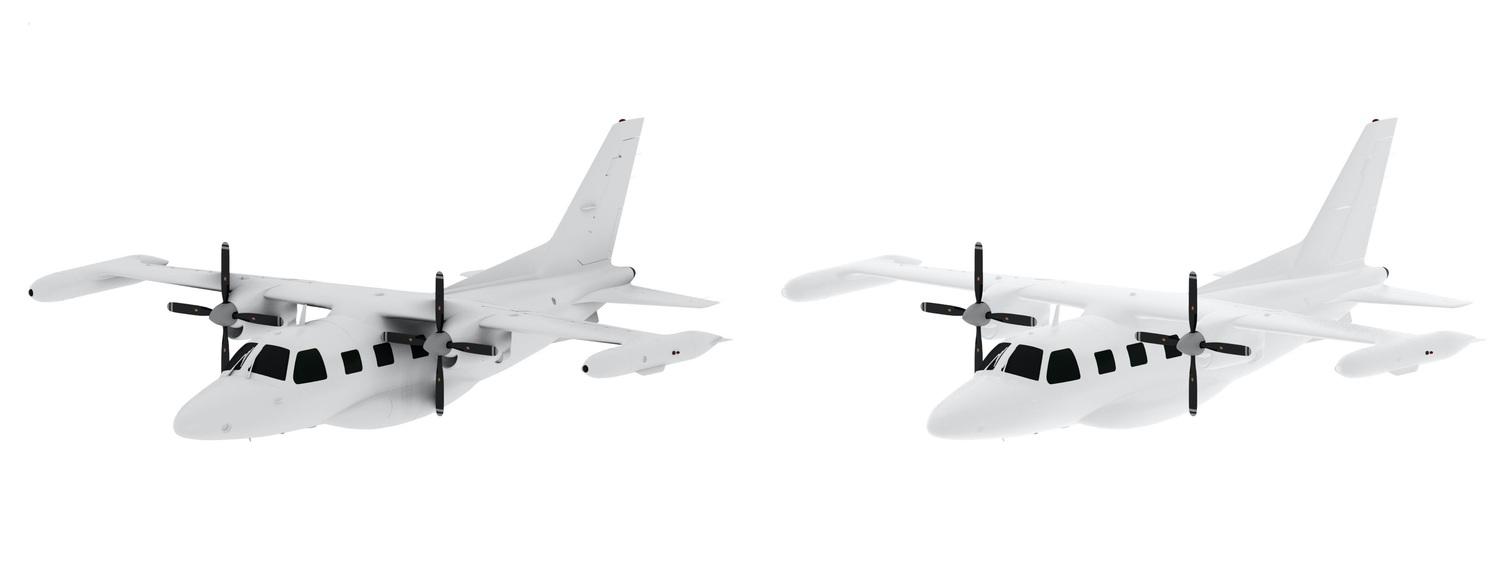
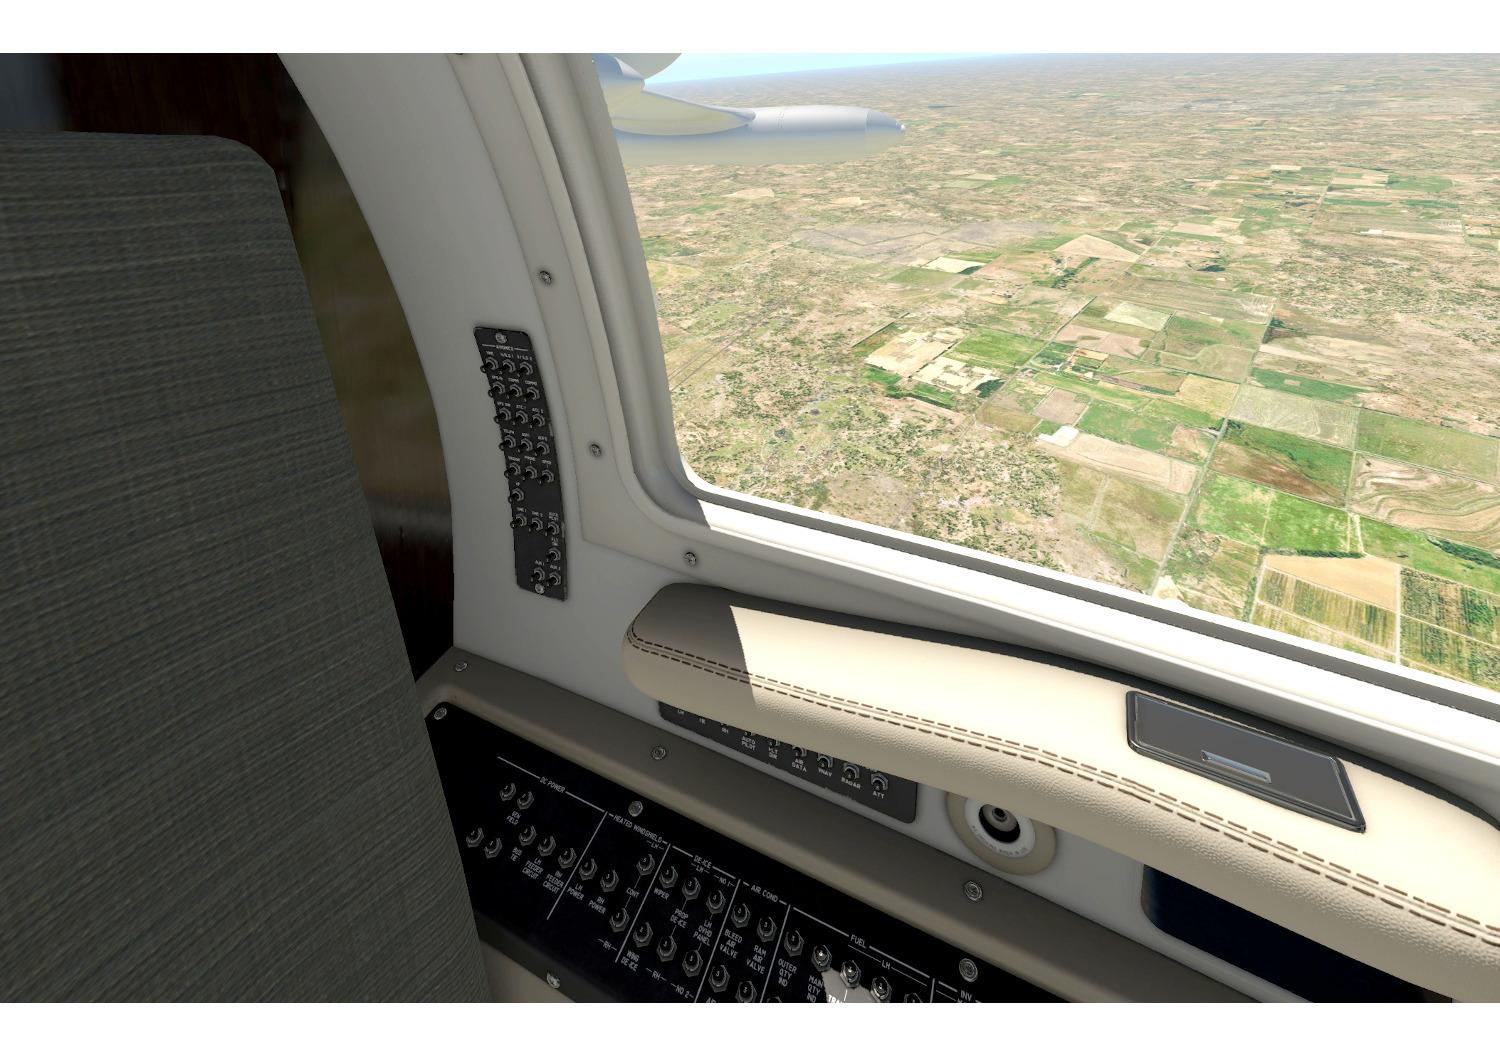
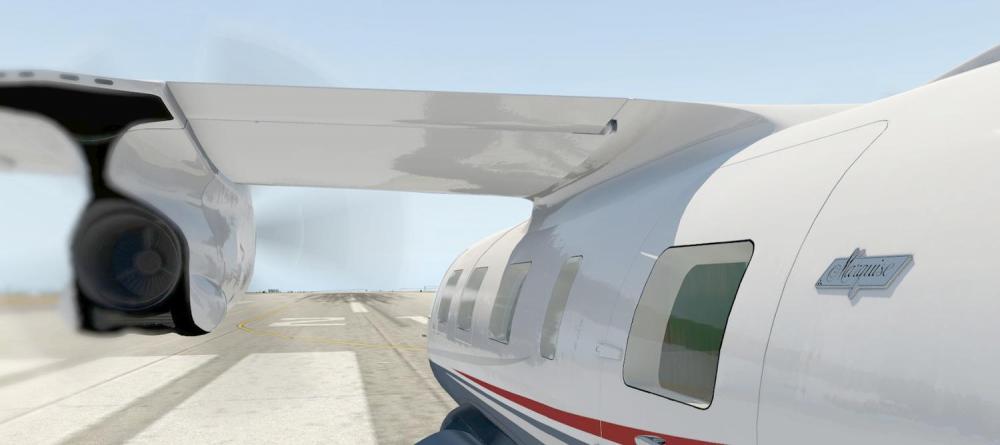
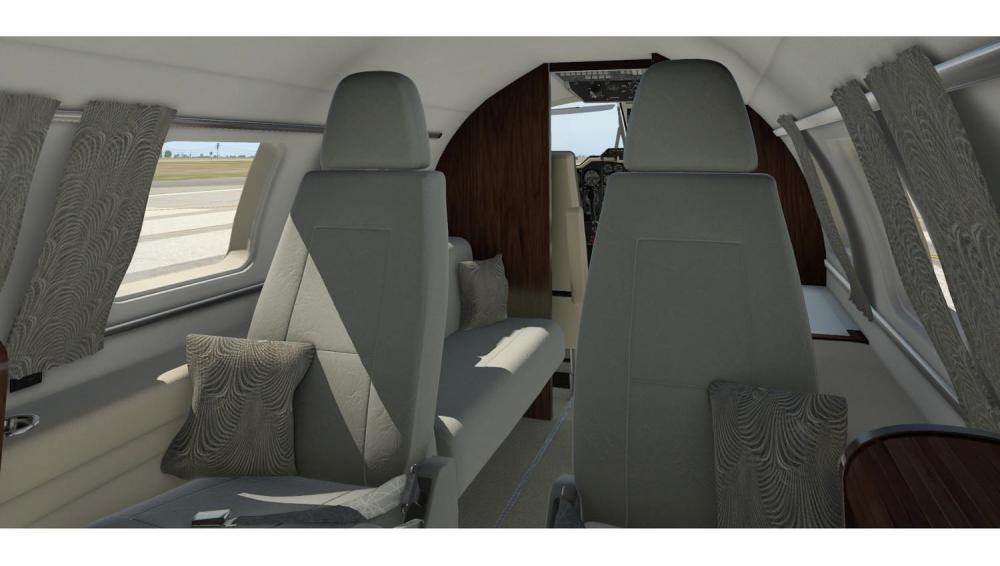
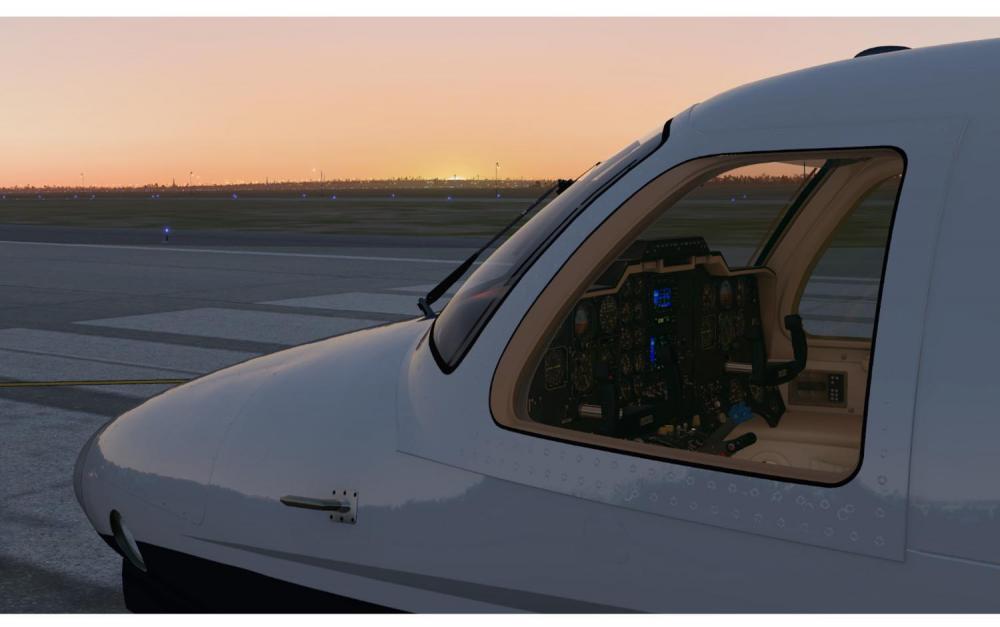
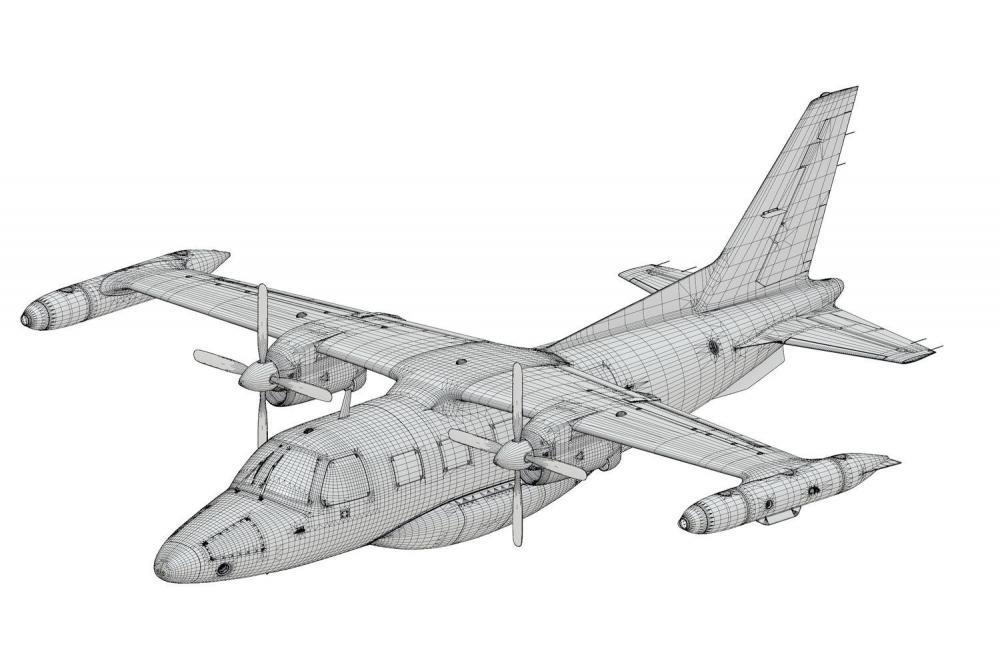
Captains, It's with a lot of excitement that I get to announce this product officially now! Back in 2008 we started X-Aviation with the MU-2 as our first product for sale, and now we're re-inventing it with this beautiful new version. Many people in the X-Plane community found the original v1 we sold as one of their very first payware aircraft back in the day. Today will be the first of a series of progress updates leading up to the forthcoming release of the Mitsubishi MU-2B-60 Marquise 2.0 simulation for X-Plane. Since its beginnings in 2005, the MU2 has been a labor of love by @tkyler and has been nursed for 13 years and for the upcoming 2.0 release, has incorporated the latest X-Plane features. The MU2 is poised to last for many more years to come and certainly through future versions of X-Plane. We are also pleased to announce all previous owners of v1 will be receiving an upgrade discount to v2! The MU-2 is a perfect GA airplane to have in your hangar and get you around X-Plane quickly when you need to feed your flight simulation addiction and actually cover some ground but don't feel like flying tube-liners. With its distinctive profile, engine sound and a cruise speed of 270+ knots, it can cover a lot of X-Plane scenery in a simulator session and have you off the computer before dinner time. In this first report, we'll discuss the most obvious improvement in version 2.0, the visual 3D model and textures. When looking at the MU2 Version 1.0 series 3D, it it quite apparent that there was major room for improvement (mind you this was X-Plane 9 days). As it turned out, trying to remodel the existing 3D was not a viable option and the 2.0 version had to be completely redone from scratch. There are a few noteworthy factors that have enabled the improvements to the 3D detail. Major advancements in Blender 3D, the modeling tool used as well as advancements to the exporter by Laminar, have facilitated a painless workflow between Blender and X-Plane, allowing focus on the geometric detail. In addition, the capability of today's graphic cards to handle fantastic numbers of polygons and high-resolution texture sets have really taken the visual aspect of flight-simming to a level barely imaginable a decade ago. The first order of business was to increase the geometric fidelity of the model and get the challenging shapes and curves more accurate. It is a difficult aircraft to get to look right. Increased geometric fidelity results in much sharper and crisper detail at close camera angles and generally a more natural look all-around. The two images below shows the Version 1.0 3D model against the Version 2.0 3D model. Version 1.x Wireframe Version 2.0 Wireframe If you study the two images above, you will see version 2.0 has a higher density 3D model all around; however, note the darker areas of the 3D wireframe mesh. These are areas where higher 3D detail has been applied in order to achieve sharper visual results that reflect light more realistically as you move the camera around. The traditional way such details are added is through the use of higher resolution texture "decals", much like the decals on plastic models. While decals are a great technique and absolutely useful, they do lack the accuracy of subtle light interaction around geometric edges at closer camera angles. Lighting details on 3D edges have always been one of those areas that make the difference between a fake looking 3D model and one that comes alive. The image below shows a few areas where the 3D detail makes a difference to the lighting. Though higher detail is applied where it counts, it wasn't added where not needed, yielding an efficient 3D model that is very performant in X-Plane. With the 3D detail in place, you have to bring it alive with texturing. X-Plane's PBR (Physically Based Rendering) has always yielded a wonderfully crisp and beautiful color palette when taken to its limits, and X-Plane 12 looks to improve that even more when it arrives. One critical component of believable texturing is a solid implementation of what is known as 'ambient occlusion', or AO as 3D artists like to say. AO is a phenomenon where light loses energy as it bounces around into corners, resulting in darker corners and recesses. Below is a comparison of a 3D model with and without ambient occlusion. The results are quite stark! AO in real time for lots of 3D polygons is still quite performance heavy. X-Plane actually has a small bit of real time AO between the ground and airplane when in HDR mode. You may note the subtle darkening of the ground around the landing gear tires sometime as aircraft taxi; however, X-plane provides no AO effects for aircraft. We obtain this AO effect by "painting" the shadowing into our textures. This is a process known as "baking" in the 3D community and our 3D software tools actually do most of the painting work for us. By baking AO effects into our textures, we can achieve a much more realistic lighting look throughout the 3D model. Baking AO lighting though is a bit of an art and can be a bit time consuming but when done well, the results are quite immersive! AO really shines when applied to interior spaces, giving lots of visual depth and avoiding that flat, cartoony look. When all of the 3D elements come together: the geometric 3D detail, attentive ambient occlusion effects, PBR texturing and X-Plane's great PBR engine, the results are exactly what we've been waiting for 13 years! A SPECIAL NOTE is warranted about this last screenshot. We include it because it shows the 3D detail and texturing in the cockpit at its best! However, the G500/600 GLASS display shown will NOT be included with the MU2 purchase. It is a separate product available by Real Sim Gear through X-Aviation, but for those folks who wish to have some glass in their MU-2, then you'll be happy to know that we support it fully and it will be available straightaway when the MU2 is release for owners of the Real Sim Gear G500! In our next progress update, we'll talk about the cockpit variants, controls and animations and how they play a major role in our immersion! Until next report, Blue Skies and tailwinds!


 11 points
 -

Version 1.0.2
499 downloads
This livery is based on a real Global Express, G-CEYL, which is operated by the charter company VOLUXIS. I had to adapt some of the stripes to better fit the Challenger, so this is not a totally accurate representation of the real aircraft, but it is as close as I could get it. For some extra flair, I have included custom normals with this livery to give it more of a semi-gloss finish. Enjoy!2 points -
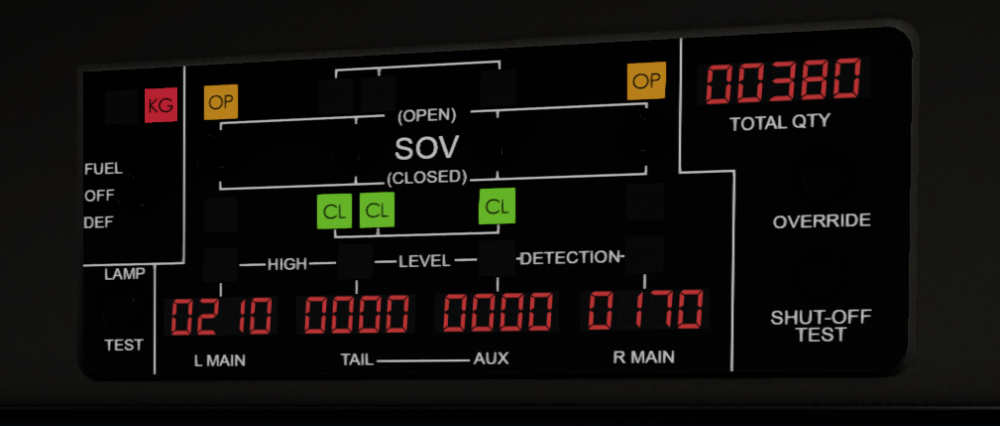
It's very hard to see the switches on this panel at night. I've got all the cockpit lighting turned up. Could this be improved at all?
 1 point
 -

Version 1.0.0
106 downloads
Hello, I present to you the livery of the Danish Air Force. Enjoy!!!1 point -
Hey guys..,.yep....my MU2 is almost out and I'm right onto the FMS right after the "stabilization period" of the Moo....so early summer the IXEG comes into long-time rotation for updating. -tkyler1 point
-
It's difficult (I won't say impossible) to find the right balance of color and lighting for anything that is "black" or "Dark". If I lightened this color to make it more visible at night, it would appear grey in daylight hours. I'm in the middle of a major update at the moment (adding the ADG, equipment area in the nose and aft cargo area), and XP12 MIGHT be out by the time I finish all that, so I'll re-evaluate some of the minor fixes when that happens. I think someone posted some kind of color adjustment somewhere in these forums or at x-plane.org, but I'm not entirely sure. I'll try to address this particular problem sometime in the middle of the update I'm working on.1 point
-
You can, but doing so could potentially be dangerous. If the toggle switch were to be moved to the “closed” position at some point after the aircraft is powered down, the nose gear doors would immediately close the next time the 3A hydraulic pump is turned on. If somebody was working in the nose wheel well at the time, they could be seriously injured. On the real airplane, it is actually possible (though not easy) to remove or insert the pin with the door closed. There is enough of a gap between the back of the door and the gear strut. But, one has to have a skinny arm, and a lot of flexibility in the elbow joint!1 point
-
Right. Clearly people are assuming that I'm telling the author of the aircraft what to do. But I am not. What I am doing is pointing out that whether this is the best option or not is highly dubious. I shall stay away from it because its technical lead is a highly erratic toddler.1 point
-
DId I demand it be made to work? Or did I simply ask, why is this thing, which is supposed to be a going thing, seeming so not around and evanescent? It gives off well, an unpleasant first impression. You have heard about first impressions? They have them wherever you find yourself? The answer to this question is a bunch of loud-mouth idiocy from this Ben person. What a winner. Let's look at all the places where you were a jerk on this board. There's dozens of them. Guess what, when everyone else is the problem, it's you.1 point