ilias.tselios
-
Posts
943 -
Joined
-
Last visited
-
Days Won
88
Content Type
Profiles
Forums
Latest X-Plane & Community News
Events
Downloads
Store
Everything posted by ilias.tselios
-
@InitiatedAunt74 currently the only way to get the Gizmo plugin is if you own any X-Aviation product.
-
Yes Gizmo is required for this aircraft. This is the source of all issues. Where did you got the Gizmo link?
-
 Contacting support more than once, puts you back in the end of the support line. Please allow 3 days before your ticket is answered, as is printed here: https://www.x-aviation.com/catalog/contact_us.php @Cameronsoon will solve your issue. Please be patient and check you email (even spam) for X-Aviation response.
 -
I think I had it working. Try this file (drop it into aircraft folder where the .acf file is). RealityXP.GNS.ini
-
What happed to the support forum for LES (SAAB 340A)?
ilias.tselios replied to Crash's topic in General Discussion
Are you sure have looked around? https://forums.x-pilot.com/forums/forum/105-support/ -
If your Mach speed goes above M.65 (which is aircraft limit and indicated below speed tape), there is a tendency for the left engine to overspeed. Keep the speed at M.65 or lower. The FM is a bit rough on these extremities, and will be reviewed with XP12. The warning is a bug in my navigation code, happens at the end of the flight plan, and will be fixed in the future. But beyond the warning, you should have no other affect in the operation of the aircraft.
-
In AUTO, nose wheel steering is disabled above 60 knots ground speed.
-
If will happen again, post here the Log.txt to check if there is and bug. I've made a flight with Avanti, might help
-
After a few requests I got for loading the aircraft for use with career trackers (FSEconomy, FSCharter, etc), I did some changes to allow control fuel and payload via X-Plane's menus. This is a short fix, not an update. Download the file below. Backup your P180_Avanti_II/scripts folder, and delete it from Avanti's folder. Unzip the downloaded file and move the new scripts folder into Avanti's folder. Download here! FUTURE UPDATES: After X-Plane 12 will be released, and do what needed for the payware products (C23, DC3), I will bring Avanti up to XP12 standards, hopefully sometime within 2022.
-
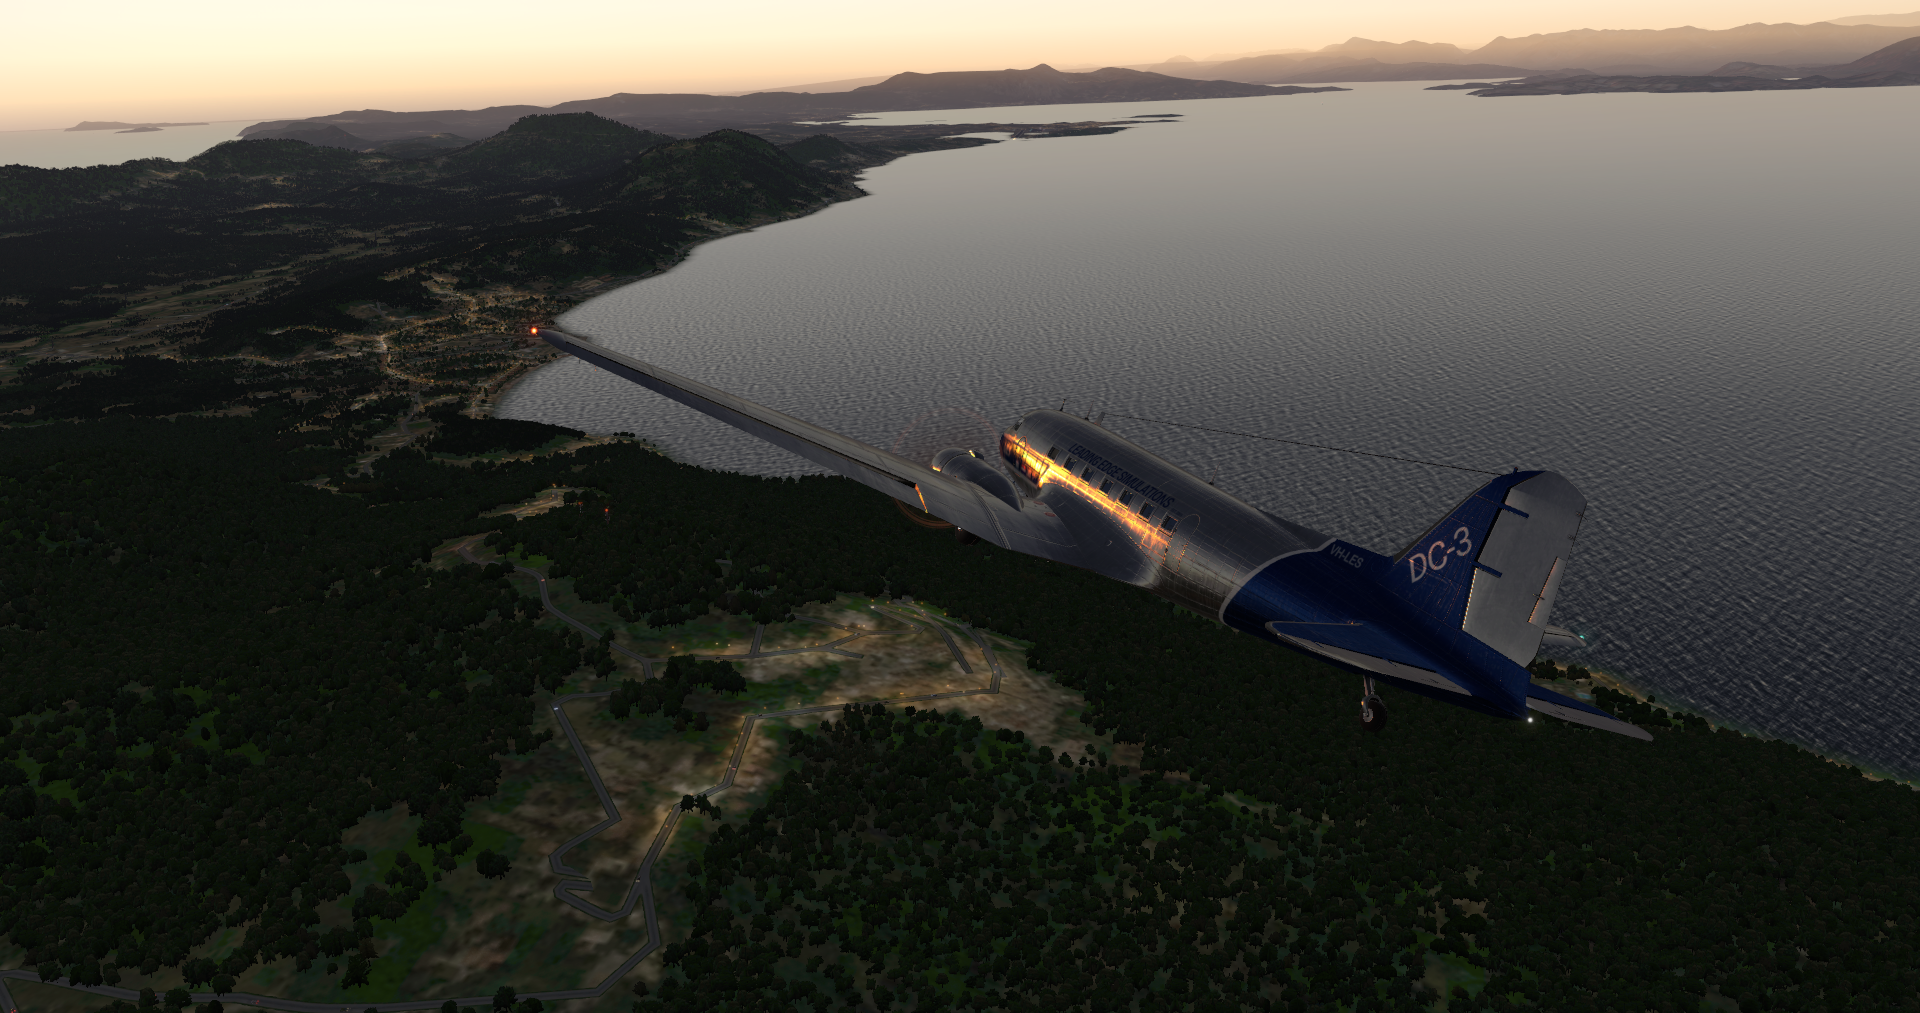
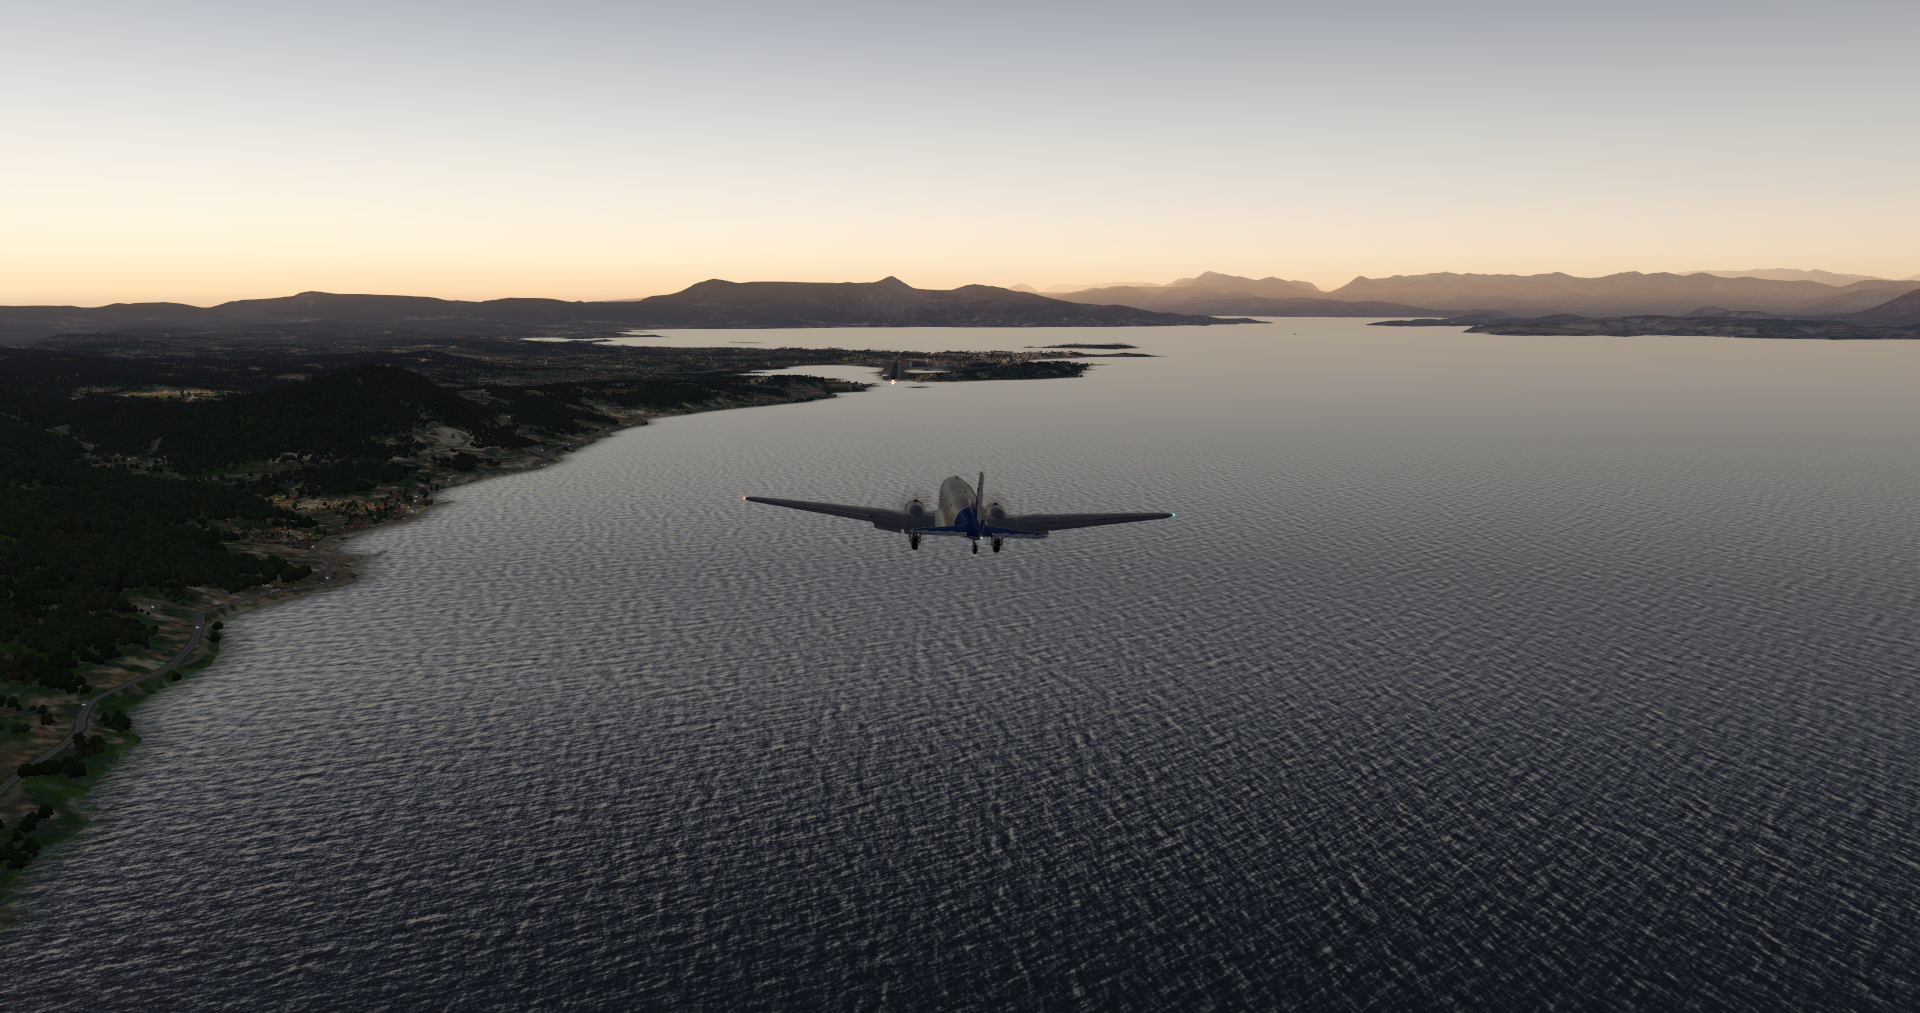
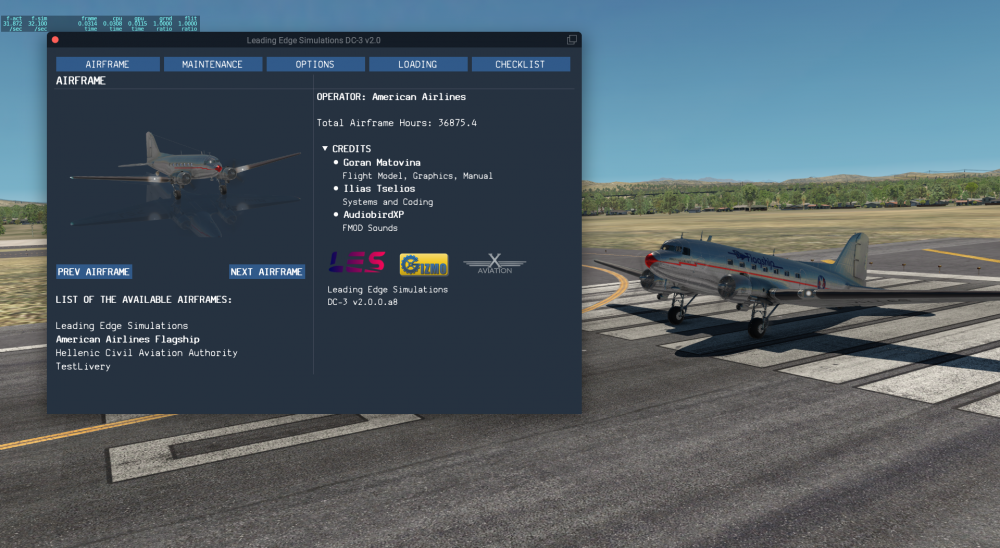
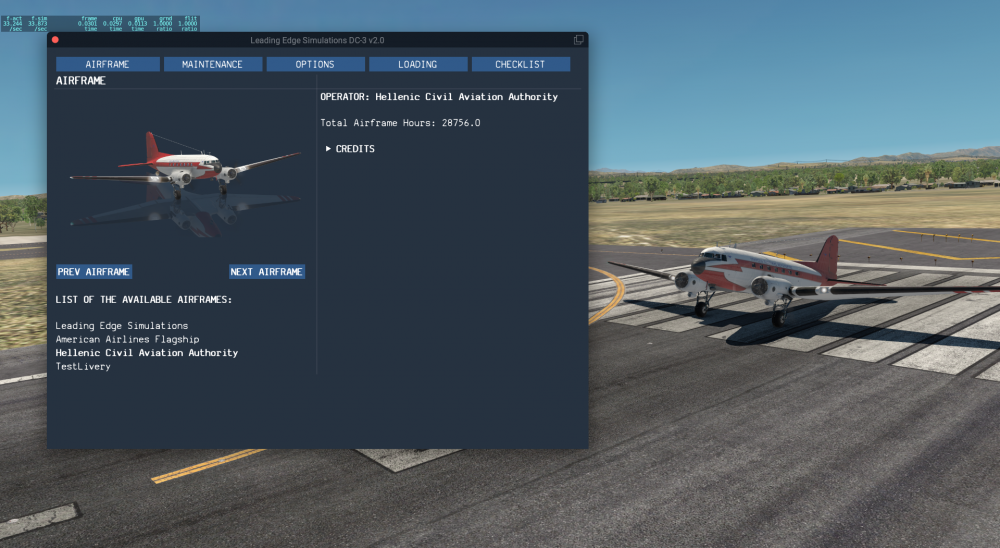
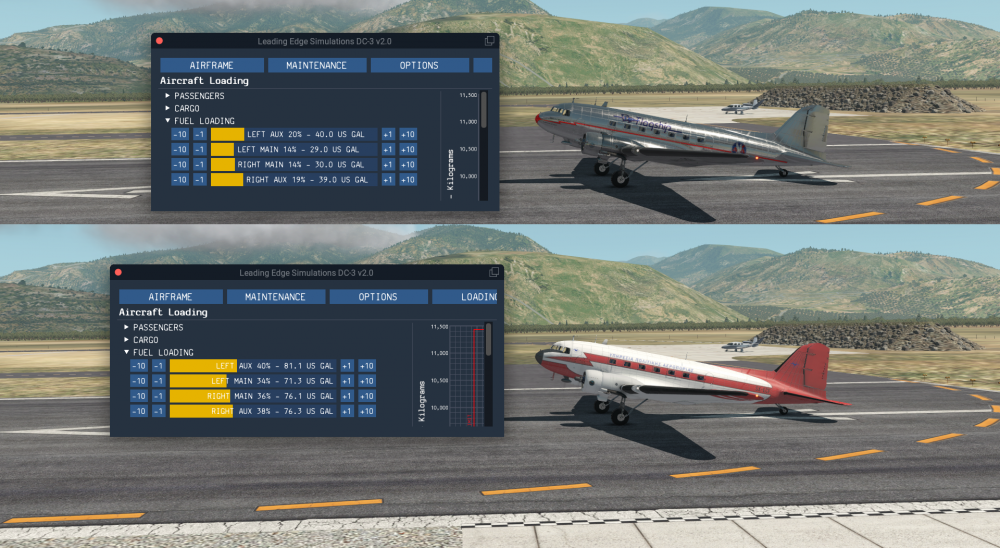
Long time to write an update, so let's go! By the way, if you have discord, feel free to join our discord channel https://discord.gg/tQWCRGngcw , we will be happy to welcome you there! May be the title does not makes much sense, but bare with me, it will! We are changing the usual way that liveries work. In our DC3, will not be just extra some extra external paints, but much more. Each livery will represent a specific airframe. This means that each livery comes along with its own persistence system, own operating hours, and of course will follow its own maintenance schedule (which will be analyzed in the next post). This means, that as you fly with one livery, flying hours, etc. will be added to that specific livery/airframe. Change to a different airframe (or livery), will be almost like change aircraft. Note: the systems remain the same. But, you may ask, if someone wants to add a livery, how is going to work? We are tracking the various values through a couple text files, that exist in each livery folder. So there are 2 options: 1. You can copy the specific files from an existing livery, and if you like, change some values. 2. Do not add anything. When you load the livery for the first time, the files from the default livery will be copied over to the correct place. Within the aircraft package, will be detailed instructions of how to add a livery. That’s all for now, here are some shot with the respective GUI:
-
- 8
-

-

-
Announcing Douglas DC-3 v2 - Previews!
ilias.tselios replied to Cameron's topic in Douglas DC-3 v2 - Released!
I owe to do a post showing in detail what we are working on. As Goran said, we are adding more than originally planned. If you have discord, feel free to join us there, where we talk (and show progress) almost daily. https://discord.gg/tQWCRGngcw -
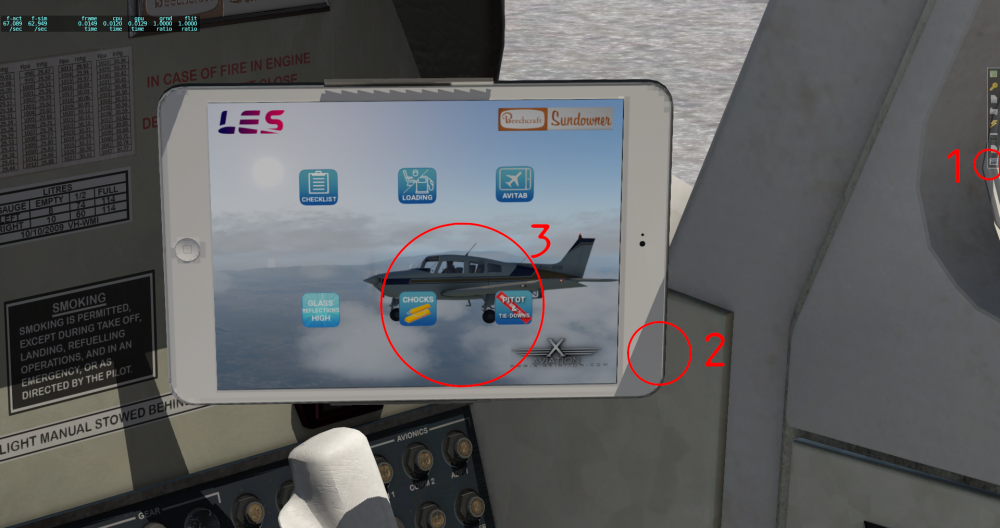
From the Gizmo tool bar, click on the tablet button (1). If the tablet is off, click on the (2) area to turn it on. Then click the icons (3) to remove chocks and tie downs. If the icons are colored, they are on, if they are grey they are off. For faster support, please post here: https://forums.x-pilot.com/forums/forum/235-beechcraft-sundowner-c23-v2/
-
For the purposes of centralized control of any issues with the aircraft, I have opened a special repository on Github to track them. If you have any issue with the aircraft or suggestion, you can added directly here: https://github.com/airfightergr/C23-Bugtracker/issues
-
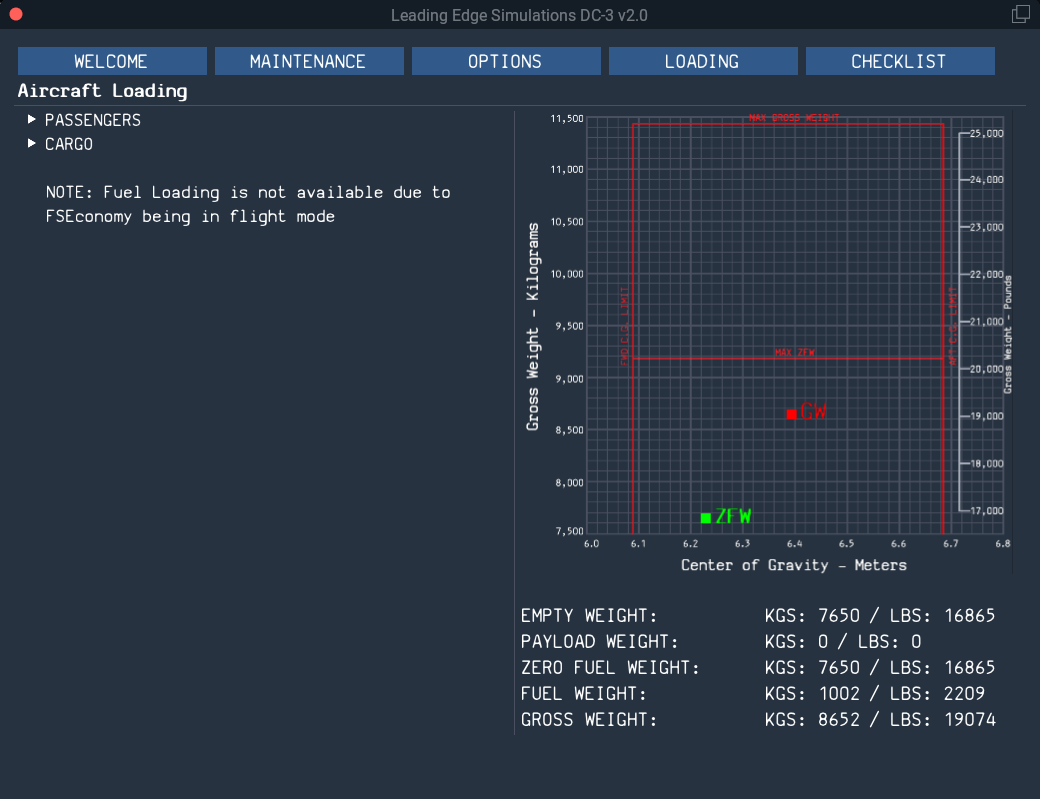
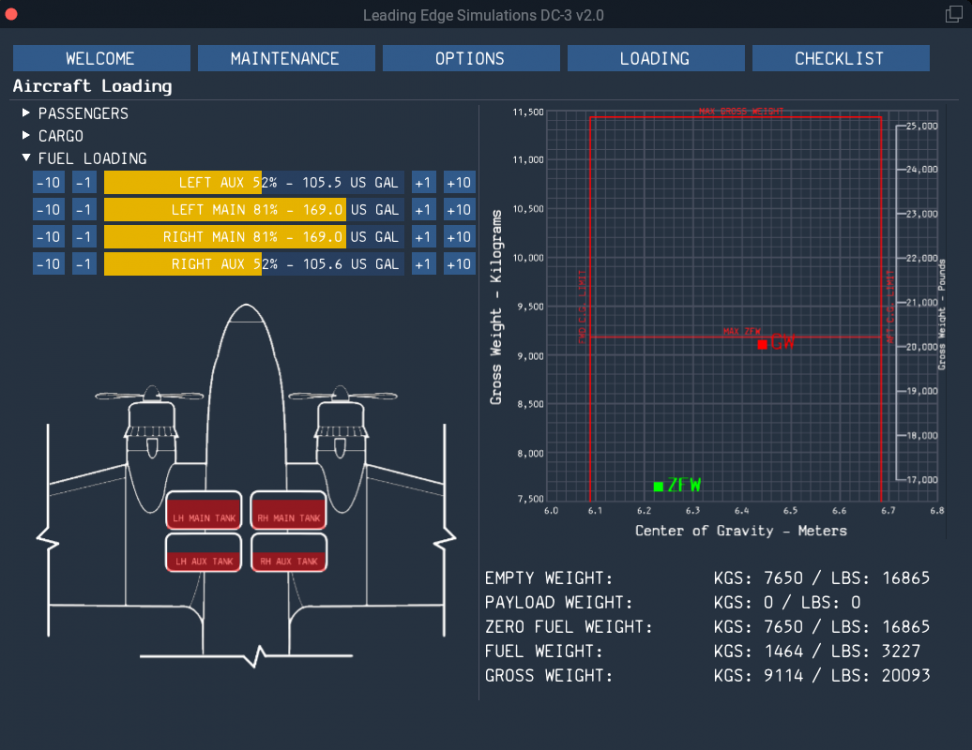
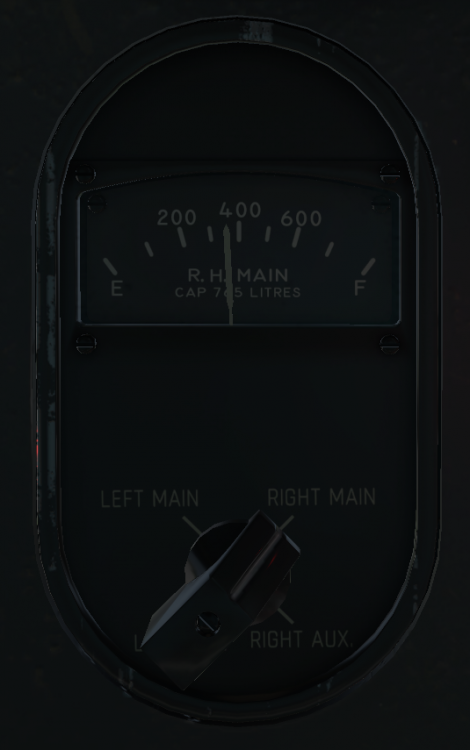
A disclaimer before dive into the fuel system. There are a ton of different fuel system configurations on DC3s/C47s. Some have 3 tanks, some 4, others can take extra fuselage tanks, others have crossfeed valves, others don't. Here we are simulating one specific configuration, of a specific DC3 aircraft, as described below. Also, here, will not cover the parts related to the engine operation, like priming, mixture etc. 1. Description DC3's fuel system is not a complicated one, but because of the lack of automation, the pilot should always be aware of the fuel situation, like fuel remaining per tank, tank imbalances, etc. There is no crossfeed valves or transfer valves. The fuel system consists of 4 fuel tanks, 2 main with capacity about 212 US GALS, and 2 auxiliary with capacity about 204 US GAL. The auxiliary name here is a bit misleading, since they are not connected to the main tanks, and are separate. Better think of them as 4 tanks. There are 2 fuel selectors on the pedestal, 1 for each engine. The have 5 positions, 1 for each tank, and 1 OFF. You can select to feed each engine from any tank, even both from the same one! Next in line are the firewall valves. Controlled by 2 levers on the left side of the pedestal, restrict fuel for reaching the engines. The fuel booster pumps (1 per engine) are next, controlled by respective switch on the right overhead panel. Also there are 2 amber lights that indicate when a pump is in operation. These pump feed fuel the engines when they are not running, and used for backup during take offs and landings, in case of an engine fuel pump failure. The engine fuel pumps, feed with fuel the engines after start up to shut down. There are no controls for those pumps. Finally the fuel reaches the carburetors. Their operation will be described in a separate post. 2. Fuel Loading Using the LES GUI, you will be able to load the aircraft with fuel, as you want. The loading is done in US GALS, which is volume, so the weight of the fuel is calculated using the fuel's density, which is depended on the fuel temperature. The weight of the fuel is displayed of the right side below the graph in kilos and pounds. We have made the DC3 FSEconomy compatible, so when you start the flight in FSE, the fuel loading is disabled. To wrap it up, there is a fuel indicator where you can check the fuel in each tank with the selector. In true "Douglas" fashion, the indication is not in US GALS but in LITERS!


-
- 2
-
-
Unable to fix fuel problem in default Laminar 172(non G1000).
ilias.tselios replied to Beescan22's topic in Help!?!
Sounds like the left tank has no fuel. Check that you have fuel in you left tank. -
95% torque for take off, and then maintain 90% through the climb (you can push 100% up to FL260). For cruise use the torque you like without exceeding 250 kts or M.67. Start your descend earlier than what the FMC suggests, or set on the DESCEND page a descend angle of 2*. You must keep some torque (do not descend on idle) to keep oil warm.
-
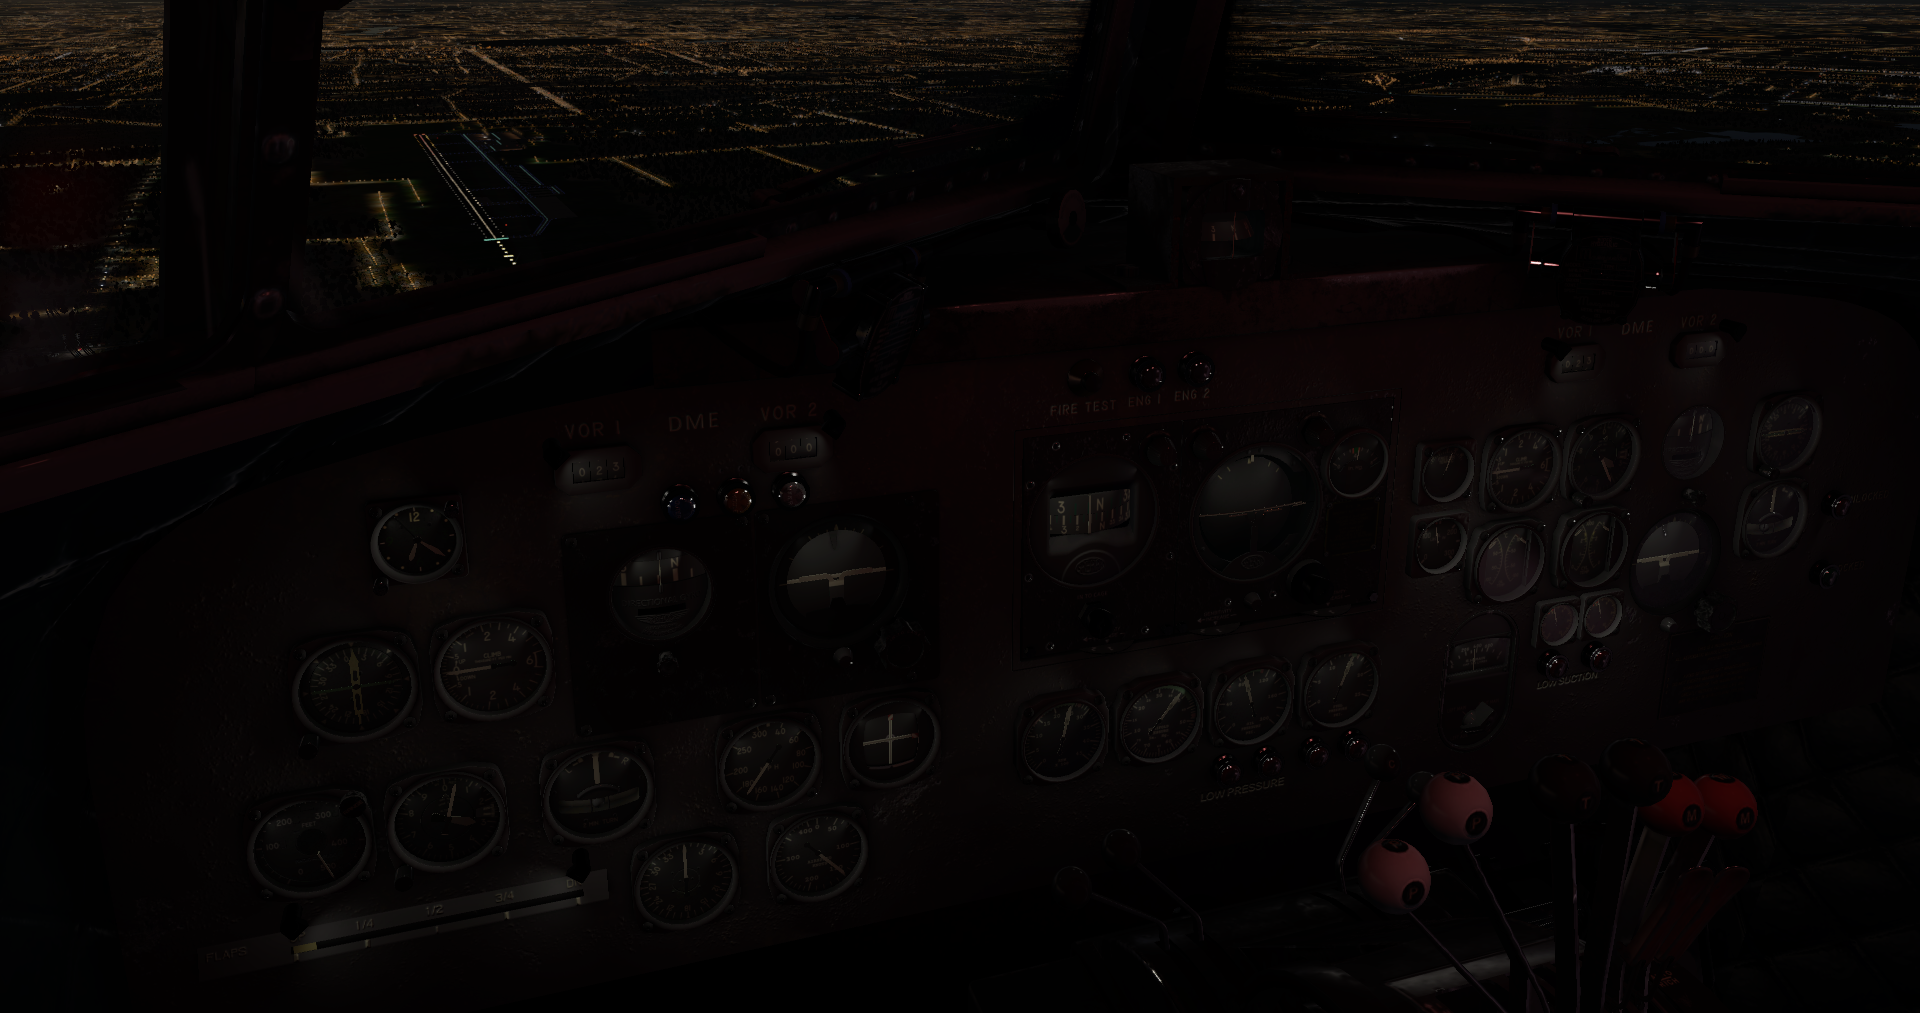
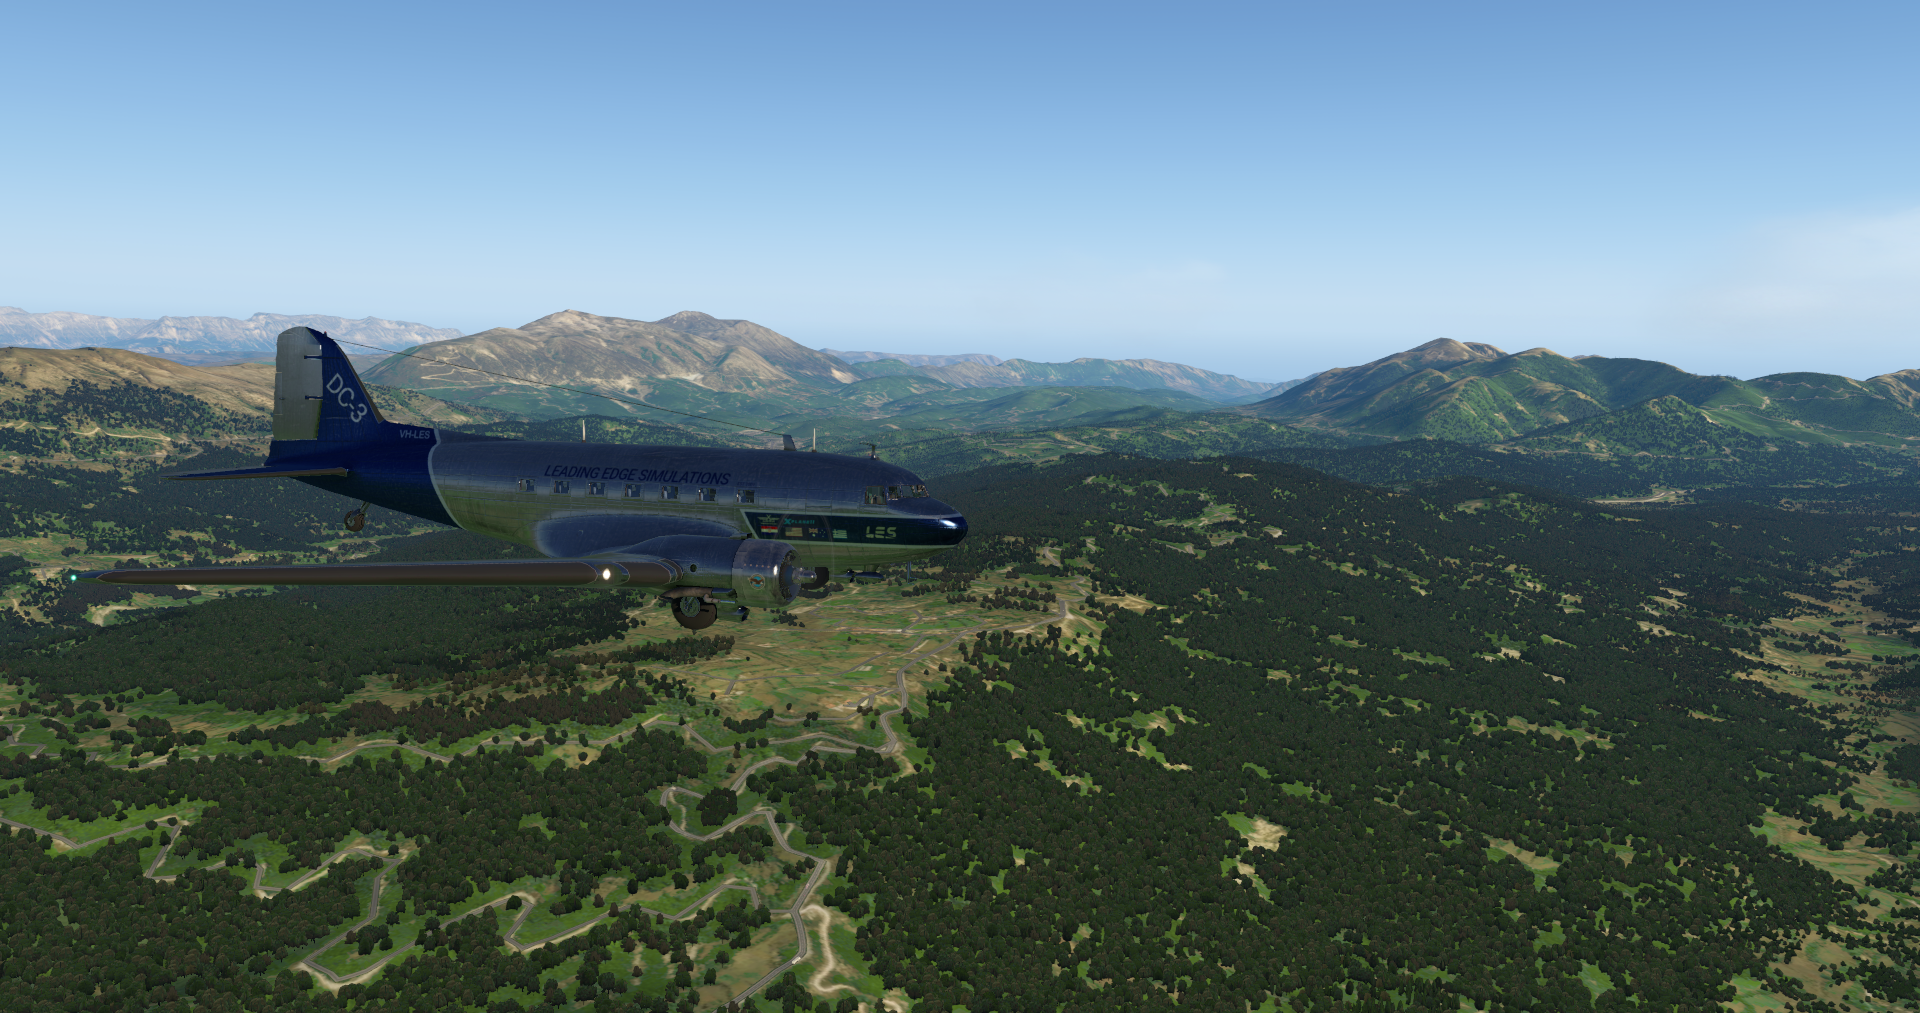
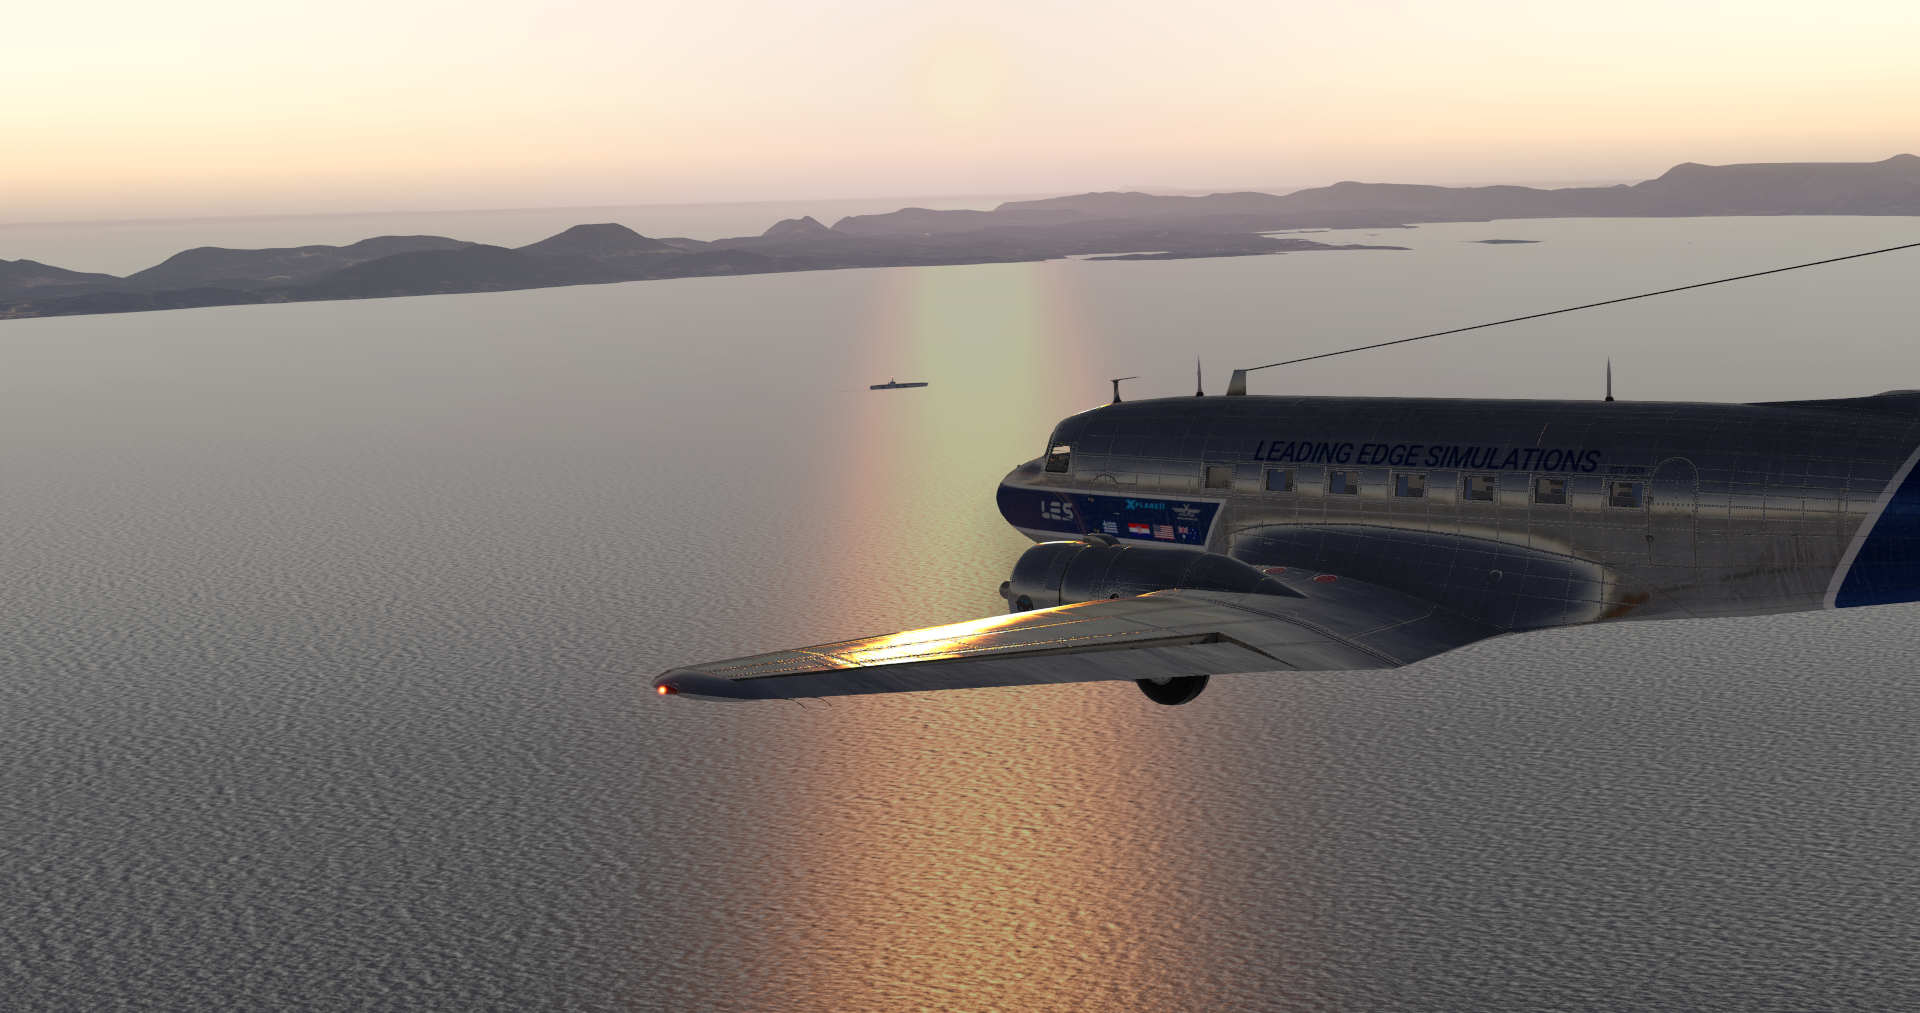
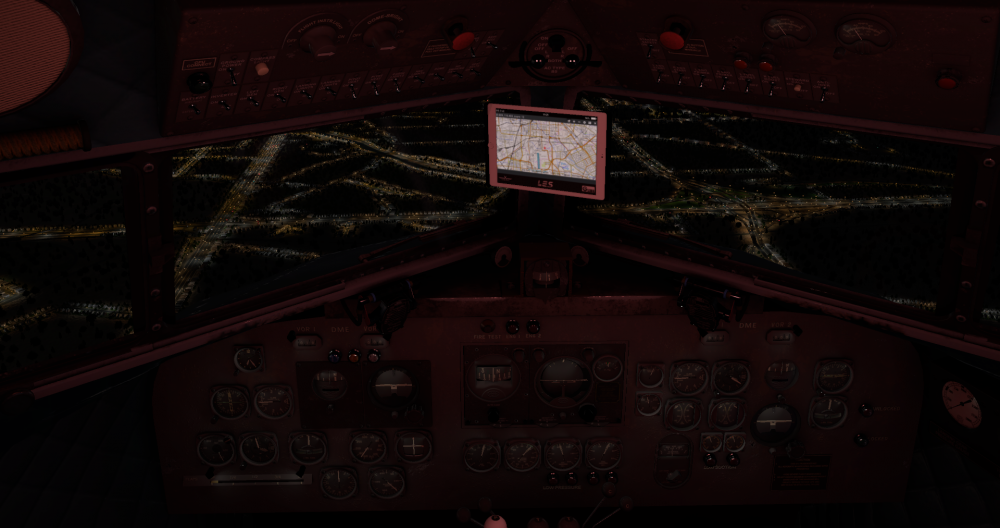
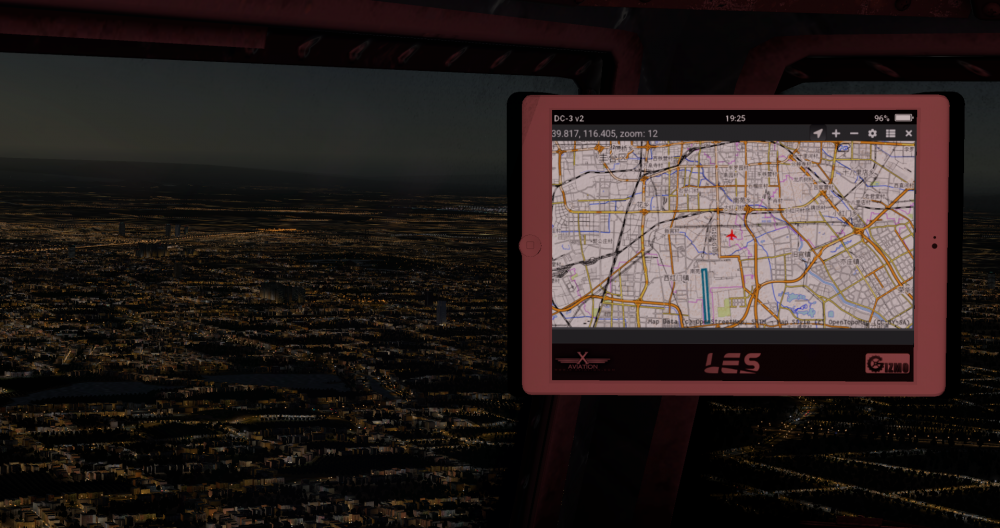
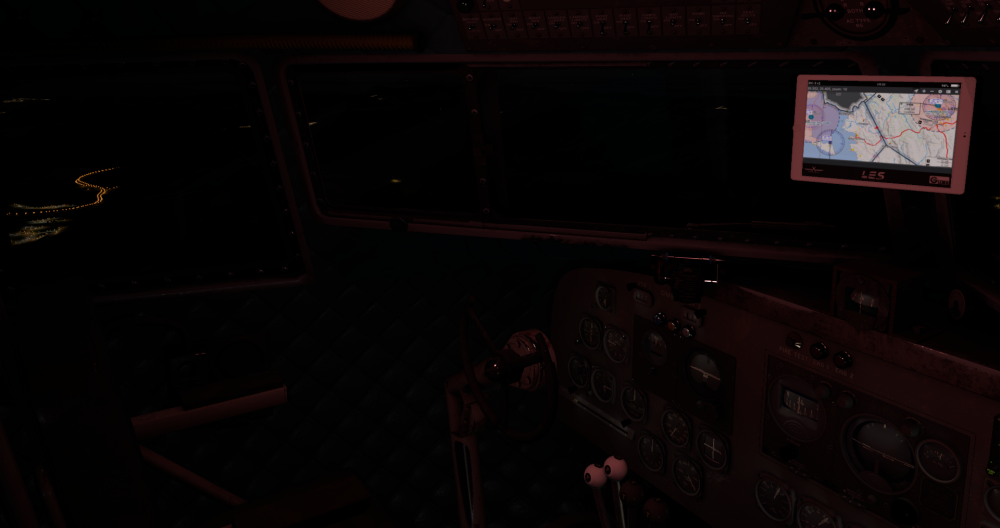
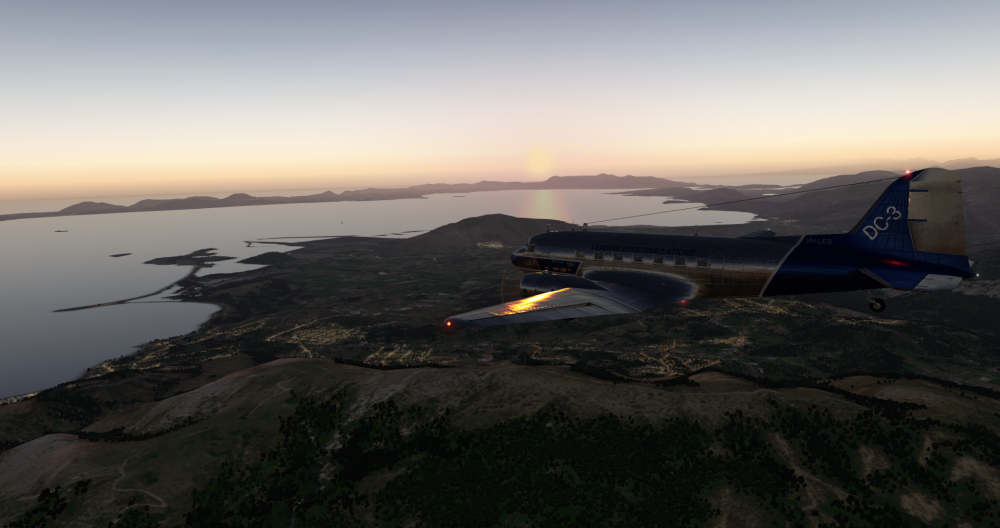
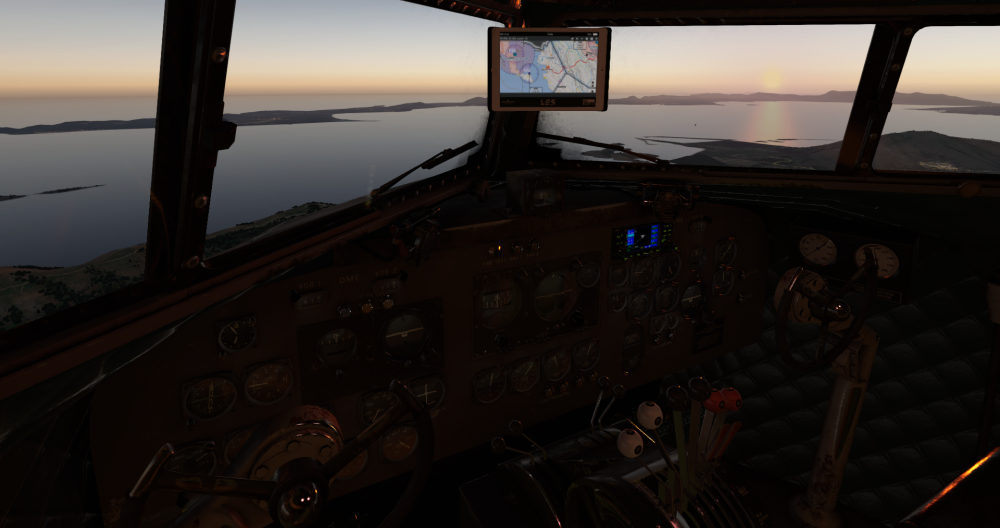
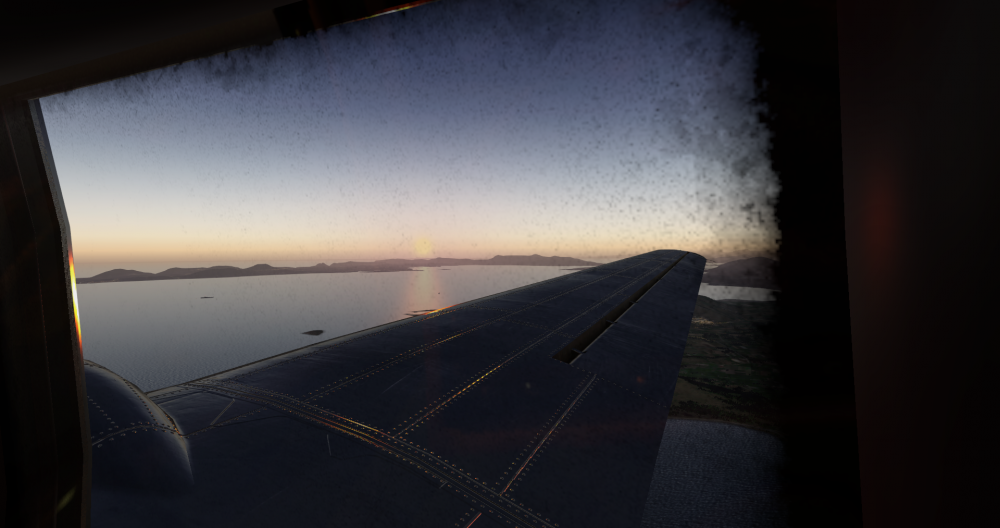
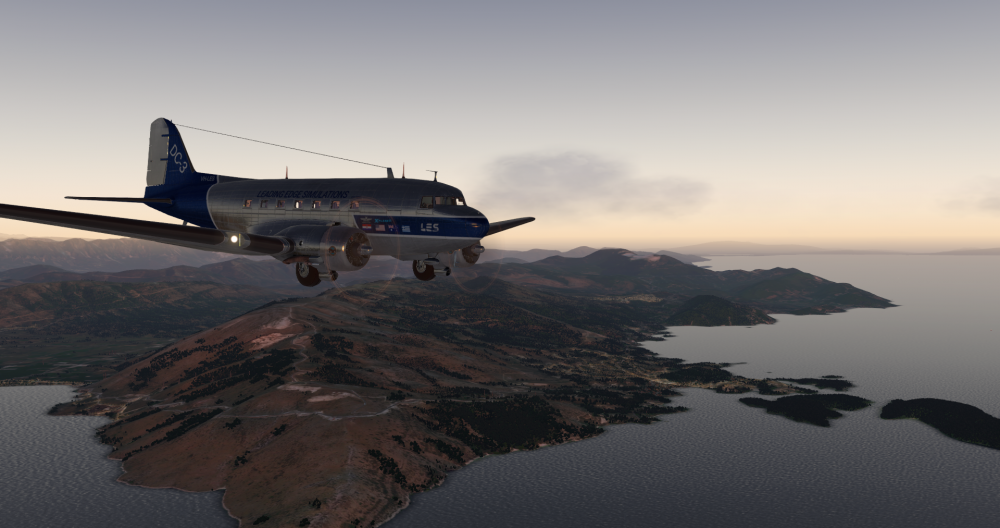
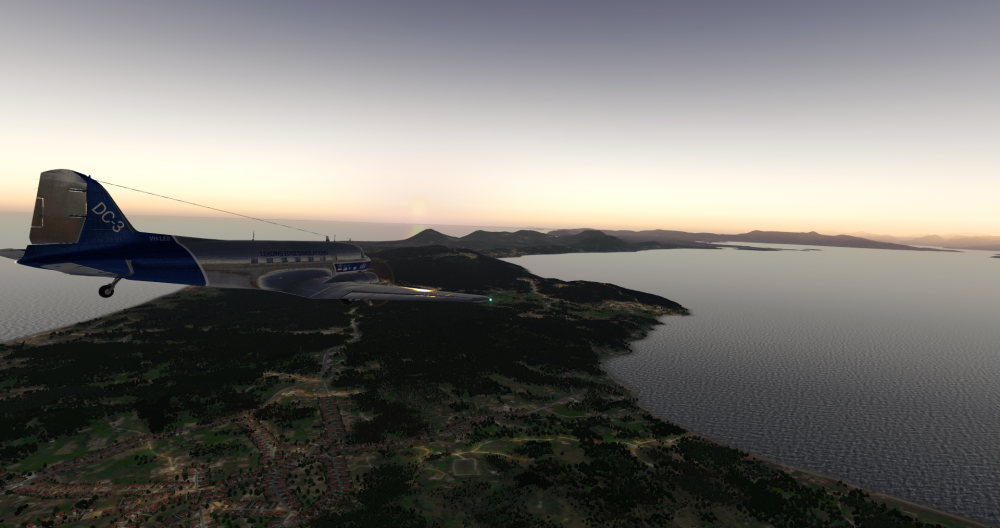
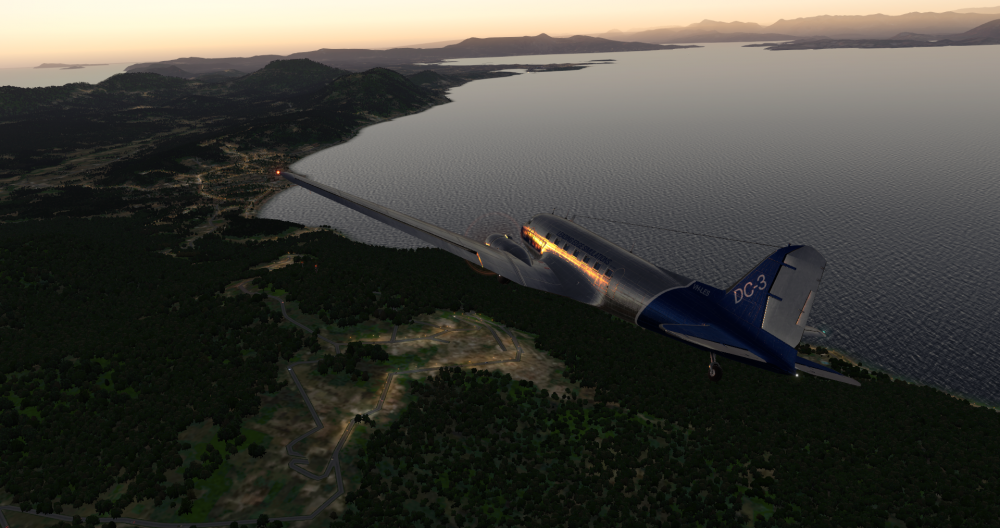
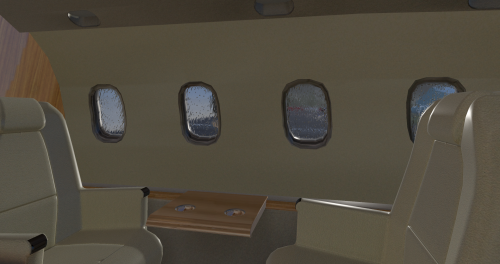
This update won't be a system specific, but one on the general status of the project. One of the small things have been added. is the tablet to access the Avitab content. You can show/hide it via the DC3 Menu, and rotate it around as you like. The battery on the tablet will last about 5 hours, enough to complete any flight! Will be fully recharged every time you load the aircraft and will consume power while is visible. One big thing I'm working on is the Sperry A-3 autopilot. At this point the basic operation is working fine, I need to added a couple of things and fine tune it. Most of the rest of the systems are around 70-80% done. Without giving any ETA, I can say that we are moving towards the completion. Enjoy! Here some captures from the last test flights.


-
- 1
-
-
I don't know if there is one, but Avanti has been around the FMC, so I'm not sure, if exists such thing, how well will work.
-
Do you have Gizmo installed? Please check the description for the download. Also please post any images and the Log.txt file to be able to understand what's going on in your X-Plane.
-
 First of all you haven't "paid" for support. A donation is as a thank you to the developer who spend his/her time to give you a free, high quality aircraft. Second, the released version is the 2.3.0. There is no other version beyond that. There are stuff as work-in-progress, but nothing is ready to released.
 -
Post here for LES Saab 340A support: https://forums.x-pilot.com/forums/forum/158-saab-340a/
-
-
-
The Gizmo version you are using is old and probably does not work with the later X-Plane versions. If you own an X-Aviation product, rerun the installer to get the newer version, otherwise I don't if @Ben Russellcan help here with making a new version.
-
OFF: Turns lights OFF DIM: Enables the FLOOD R PNL knob to adjust the dimming BRT: Lights on on full power.