ilias.tselios
-
Posts
943 -
Joined
-
Last visited
-
Days Won
88
Content Type
Profiles
Forums
Latest X-Plane & Community News
Events
Downloads
Store
Everything posted by ilias.tselios
-
I have an i7-4970, 24GB RAM, and a 1060 6GB, and XP12 runs more than fine. On performance level, is at least on par with XP11, and will utilize your graphics card better. Also, Laminar works constantly to improve performance, and will getting better with every new update. Yes, you won't turn all sliders to max, but the experience is way better than XP11. Moreover, the improvements in all fronts (FM, weather, visuals, etc) are so great, that feels a totally different sim. By the way, I use my machine for aircraft development, and I have to run X-Plane in parallel with other heavy applications. Still performance is more than OK.
-

VSkyLabs C47 vs. Leading Edge Simulations DC-3
ilias.tselios replied to Kalnon's topic in General Discussion
I'm not part of Saab's development, so I can't give you an answer. I don't know if @Goran_M or @JGregorycan chime in. -
VSkyLabs C47 vs. Leading Edge Simulations DC-3
ilias.tselios replied to Kalnon's topic in General Discussion
We are in the closing stages, before releasing DC3 v2 version. You can have a look here: https://forums.x-pilot.com/forums/forum/242-douglas-dc-3-v2/ or join our discord server for more: https://discord.gg/85apMfvm. -
If libraries include any kind of licence (usually a text file), you have to read and do accordingly. If not, better ask permision from the author.
-
Click on the name to go to profile, and there is a Follow member button.
-
Thanks! That was a good one. Don't worry...will do do better!
-
Working as hard as possible to finish LES DC3. Until DC3 release no news. I haven't, and never will, give up on DC9.
-
Beechcraft C23 Sundowner for X-Plane 12!
ilias.tselios replied to ilias.tselios's topic in General Discussion
That depends on Gizmo, which currently does not support Linux. -
 Needs a lot of work to work properly in X-Plane 12. When I'll have some free time, I might updated her, but not any time soon.
 -
x-pilot... not xpilot!
-
You are probably looking for those forums: https://forums.vatsim.net/forum/352-xpilot/
-
Beechcraft C23 Sundowner for X-Plane 12!
ilias.tselios replied to ilias.tselios's topic in General Discussion
That's why I'm pointing to my experience, and not talking generally. I suggest to let @Coopto know about any issues, giving him all the info you can, so he can find a solution. -
Beechcraft C23 Sundowner for X-Plane 12!
ilias.tselios replied to ilias.tselios's topic in General Discussion
No my job to talk about G500, but I have the latest beta and the published version of G500, and works OK, at least on my machine. -
Every developer/store has its own policies, or just thinking about how to do stuff. We (the developers) know, since we are in daily contact with Laminar, that X-Plane 12 is in a phase that some things will change in the near future. If a developer choose to ship an aircraft now, and have to redo some stuff, when the changes will arrive, good for him/her. Though, in the meanwhile, something might not work right, until the developer patch it, and the user experience is not going to be great. Another developer might choose to postpone the release, until he/she has the confidence that the product will perform (almost) perfect as intended, and give the user a much better experience. In both cases, will be user that will complain for the one or the other. You can't satisfy all. But if you are 'anxious' that no one here cares about bringing our aircraft up to XP12 standards, you should not. Beyond that there are many new aircraft under development from all the teams having product in X-Aviation store, that have not hit the market yet, almost all existing ones, are actively being in the works for that. For example, a few days ago I announced the first LES aircraft getting ready for XP12.
-
Beechcraft C23 Sundowner for X-Plane 12!
ilias.tselios replied to ilias.tselios's topic in General Discussion
I can confirm at this point is that DC3 v2 will be. -
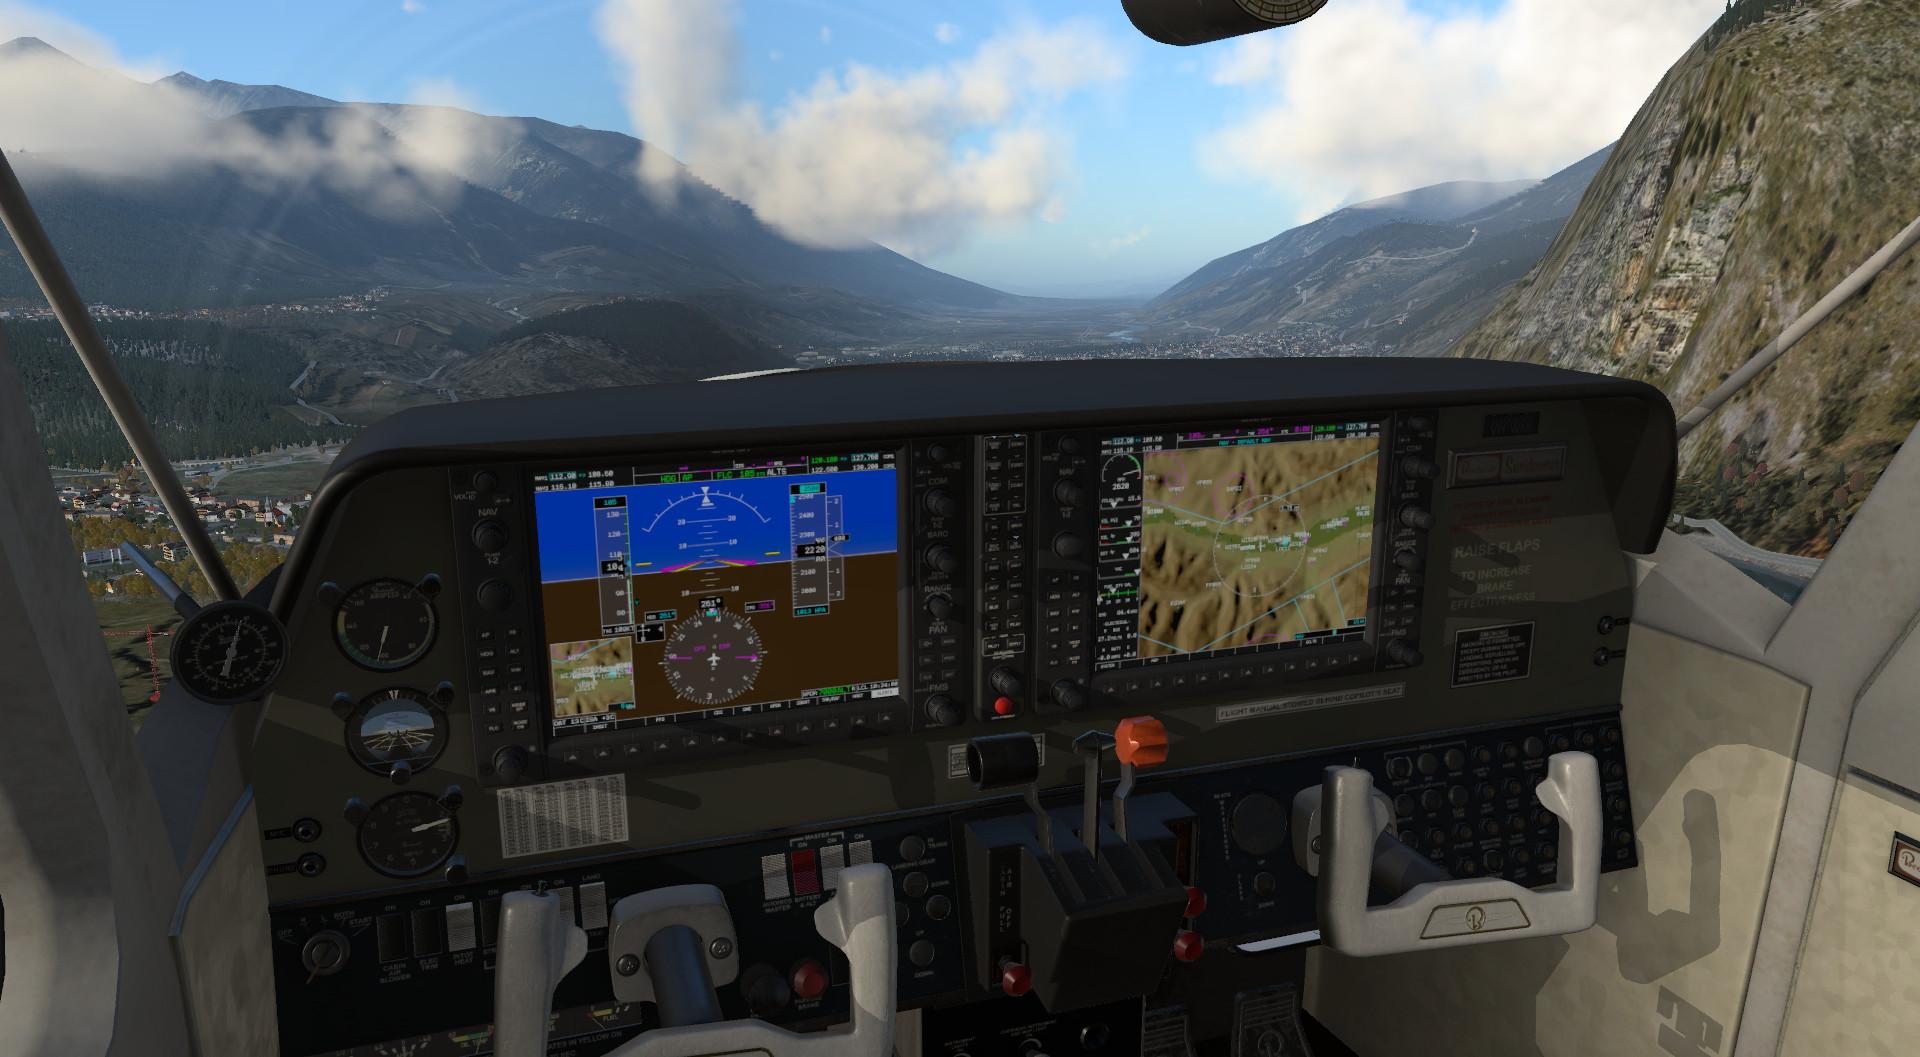
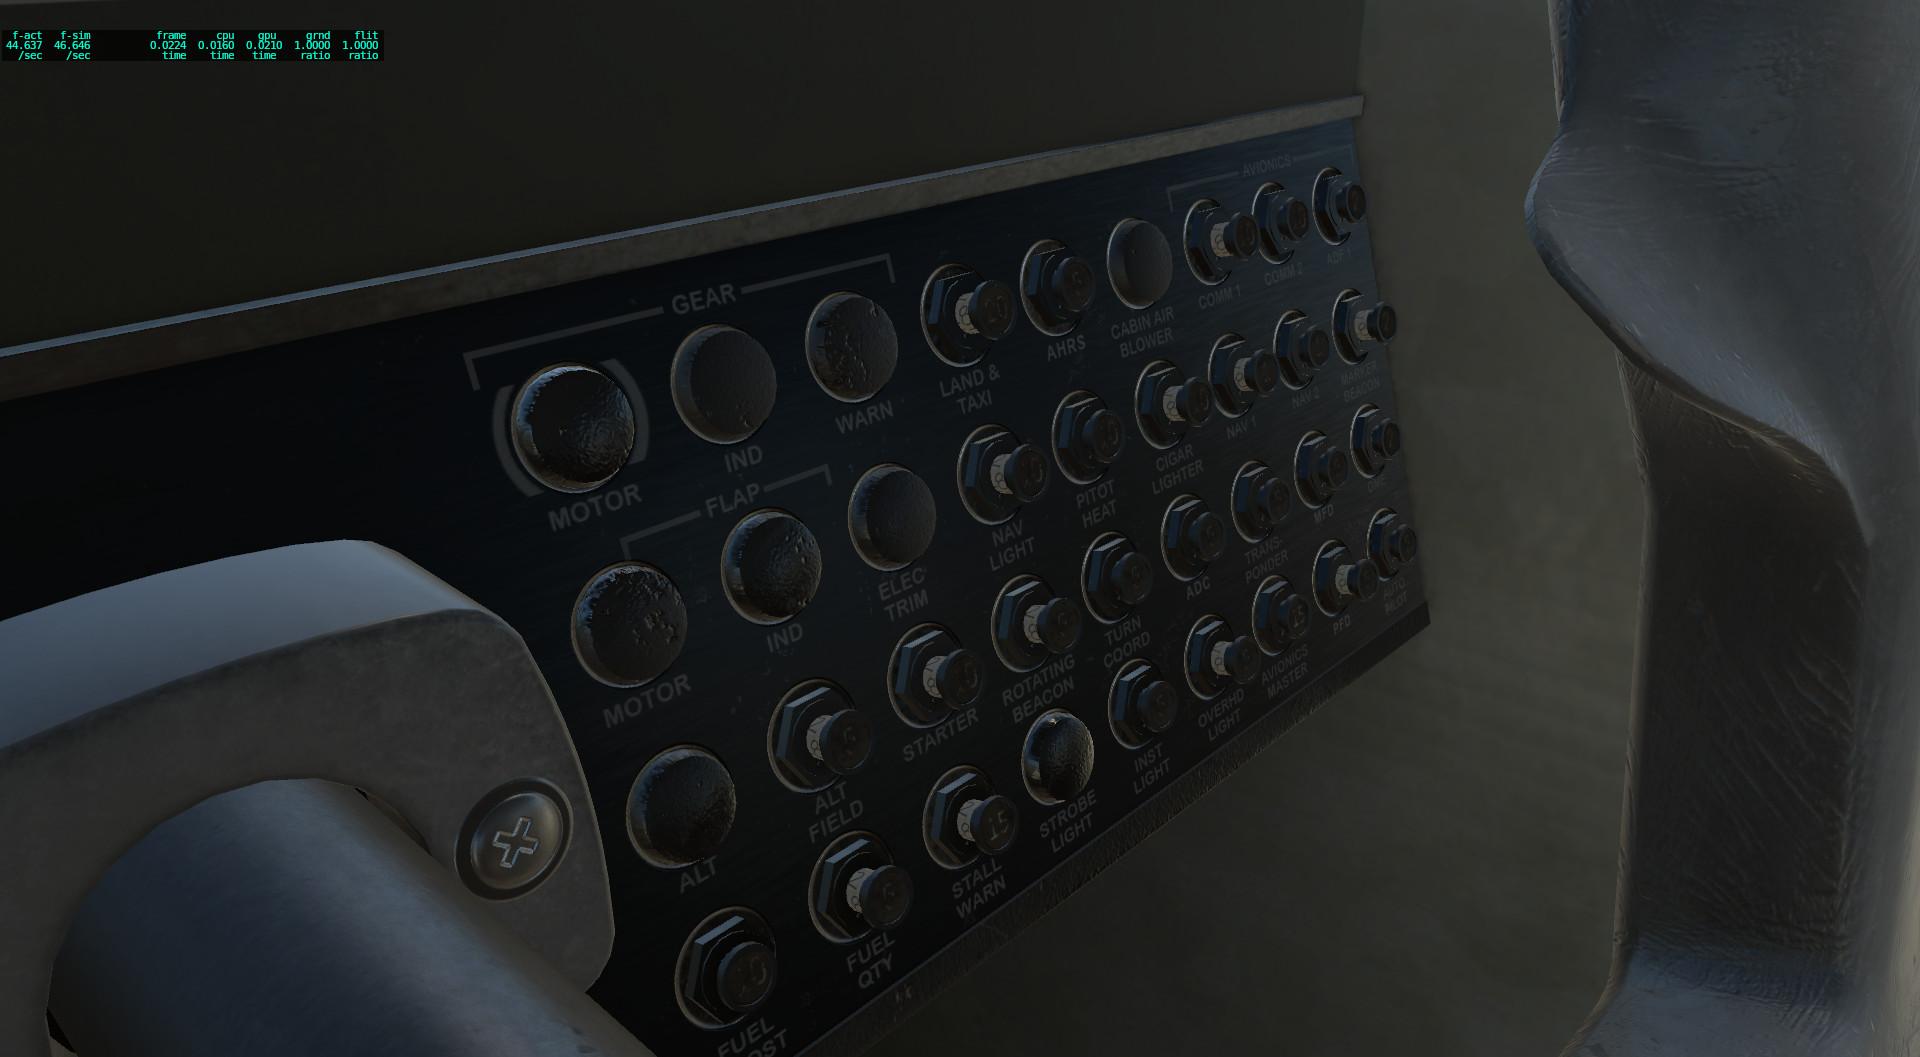
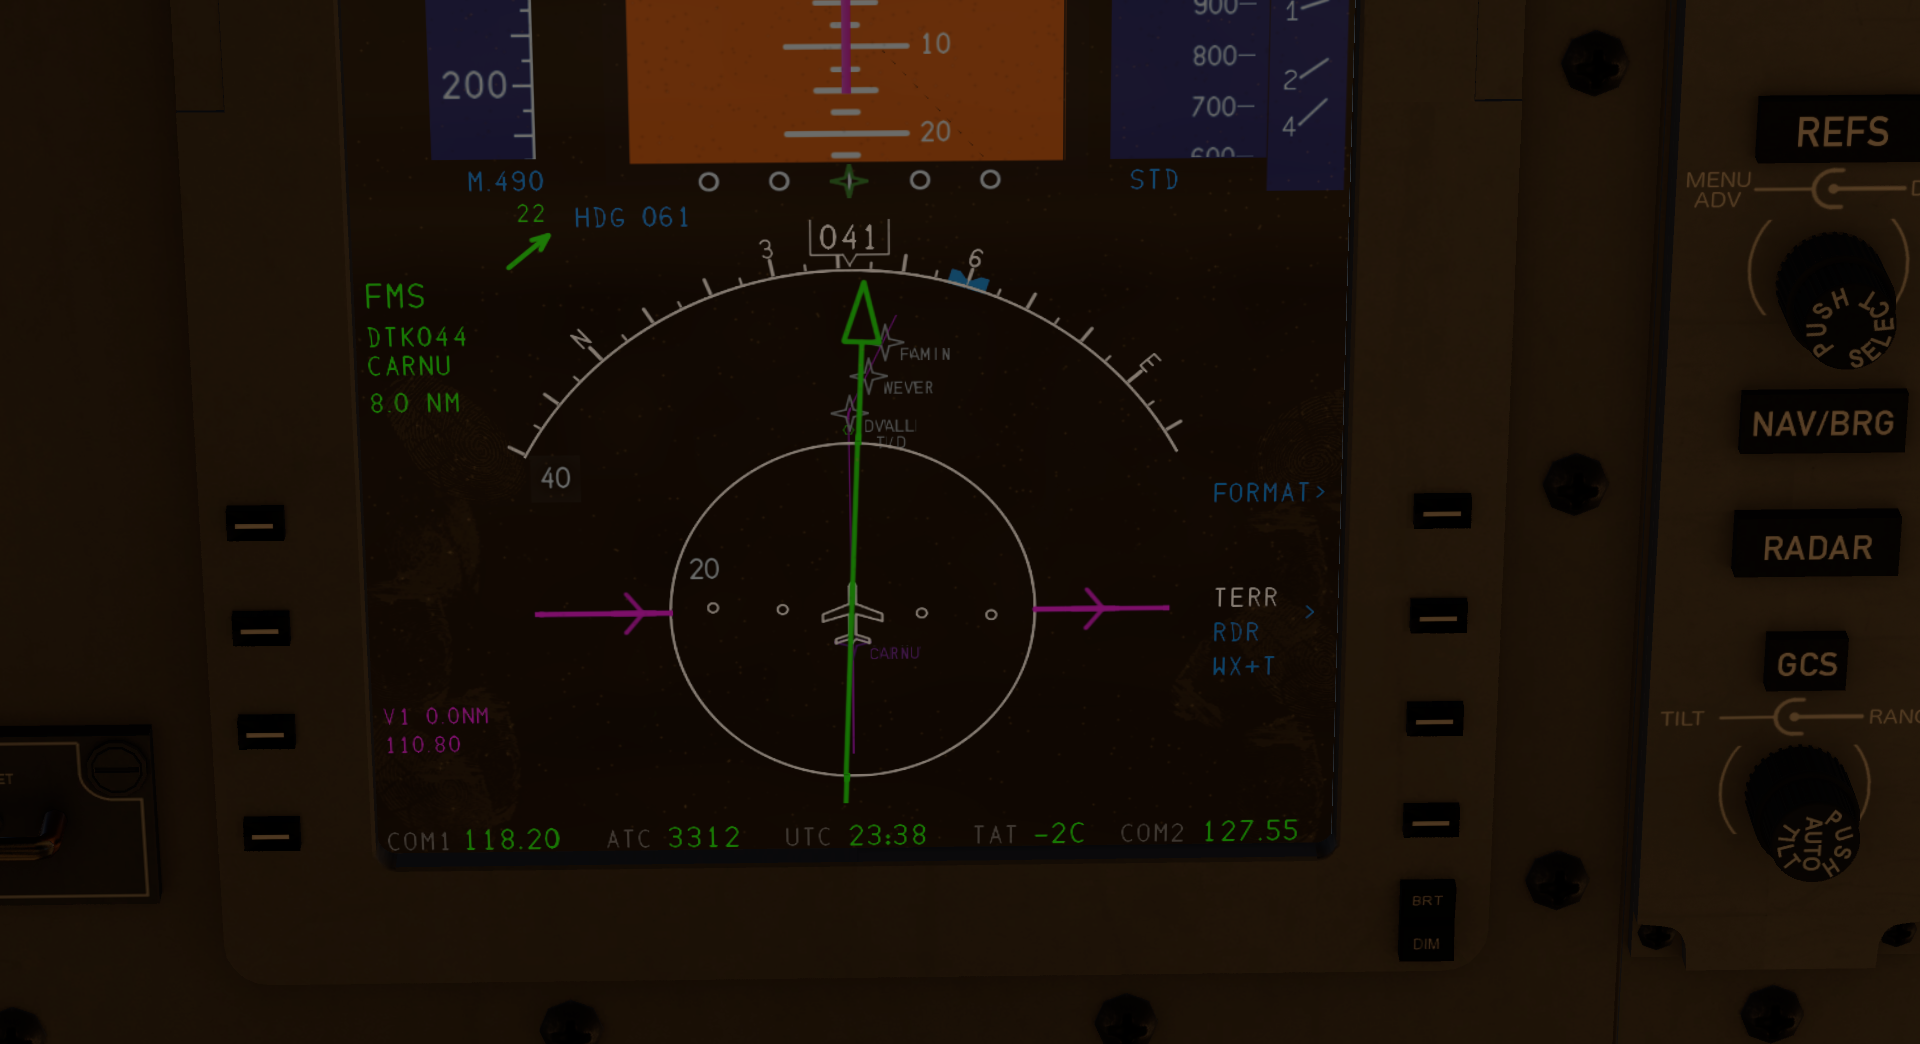
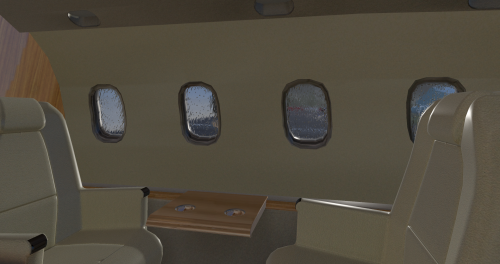
Hello Captains! We are happy to announce that our Beechcraft C23 Sundowner, soon will be available for X-Plane 12! This is not a simple patch to make Sundowner X-Plane 12 compatible, but a serious upgrade with many improvements, and additions! The version that is already in the store, includes 2 versions of the aircraft, the original version, and upgraded version with Garmin's G5 avionics. The new Sundowner adds 2 more versions, for a total of 4! One with the Garmin G500, and one with Garmin 1000 avionics! Those upgrades are not simple instruments swapping, but go deep into aircraft's systems, like the electrical, which now includes all circuits breakers to be operational! Here is a feature list with all the major items: X-Plane 12 (only) compatible. Support for the full X-Plane 12 run. X-Plane 12 flight model integration, which includes: a. Flight model adjustments for correct aircraft performance. b. X-Plane 12 new weight and balance model. You can adjust the weight of each seat occupant, through X-Plane's UI. c. Yaw trim tab adjustment, for neutral rudder input at cruise. Four aircraft models, with unique panel layout, and operation. a. The original C23 Sundowner. b. C23 Sundowner with G5 Instruments (requires the RealSimGear G5 Instruments from X-Aviation store). c. C23 Sundowner with G500 Avionics Suite (requires the RealSimGear G500 Avionics Suite from X-Aviation store). d. C23 Sundowner with X-Plane's G1000 Avionics Suite. X-Plane 12 windscreen rain effects, and defrost control. Full use of X-Plane 12 lighting system. All circuit breaker are operational. Fully simulated AMR-350 TSO audio panel, for the original, G5, and G500 models. For the G1000 version, extended simulation of the GMA 1347 audio panel. All models simulate the use of headphones. Integration of Libradio, for true to life COM and NAV reception. Credits to @skiselkov. Controls and displays for COM and NAV radios, individualized per model. For the original model, G5, and G500, COM1 and NAV1 are controlled via the GNS430 head unit, and COM2 and NAV2 via the radio stack units. a. The original model has a button between CDI and DME indicators to switch sources between VOR1 and VOR2. Pressing the CDI button on the GNS430, source becomes the GPS. b. In the G5 model, NAV1 drives the G5 HSI, and NAV2 the CDI and DME indicators. c. For the G500 model, all NAV indications are displayed on the G500 PFD. New tablet location. Now stored under the panel, on the right side, and displayed on pilot's yoke. I think it's time for some images! Here you go!


-
Yes. We are looking into this.
-
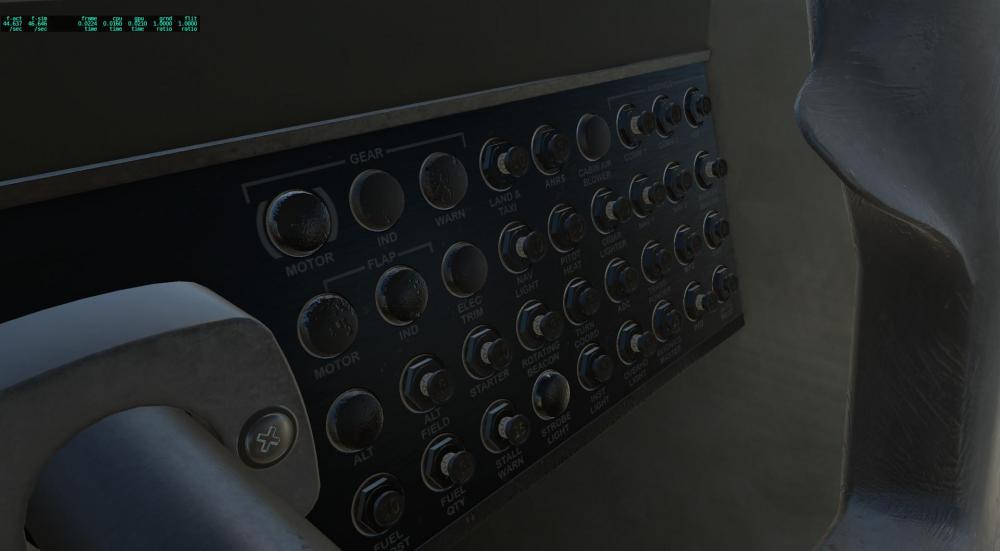
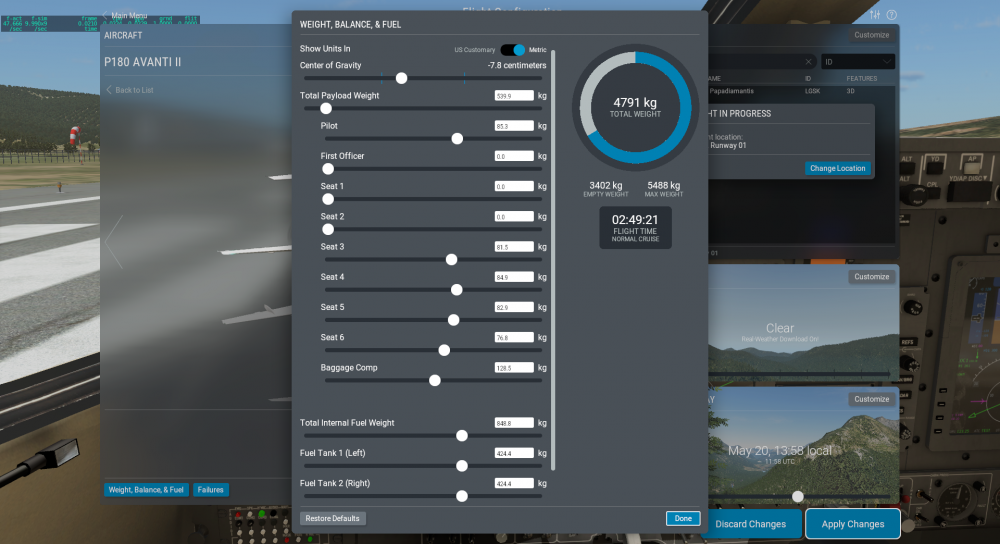
Thanks! Some time in the future yes, but first I have to finish my job on DC3, then update both DC3 and C23 to XP12 standards, and then I hope to find some time for Avanti. I have tested in XP12, there are a few issues need solving to be fully operational. (Images are from early alpha versions)


-
Post here for support: https://forums.x-pilot.com/forums/forum/248-fairchild-pt-19/
-
Hello to you as well. What kind of support do you prefer?
-
https://forums.x-pilot.com/forums/forum/236-g5-instruments/
-
Everything is OK. You are using STD setting on the altimeter and not the barometric pressure of that area.
-
Look at this document in "X-Plane 11/Instructions/X-Plane SPECS from Austin/Exchanging Data with X-Plane.rtfd", might help you. This is a bit old, but might give you some hints http://www.nuclearprojects.com/xplane/index.shtml
-
Can you use commands instead? les/sf34a/acft/inst/mnp/airspeed_ind_bug_knob_dn_pilot les/sf34a/acft/inst/mnp/airspeed_ind_bug_knob_up_pilot
-
As you said, it is a freeware aircraft; but not open source. DRM protects my code which is my intellectual property. But is not about DRM only. Gizmo is the best option to develop a high complex aircraft, using Lua. Avanti is one of the most complex freeware aircrafts in X-Plane, because takes advantage of Gizmo's horsepower. At this point, with all the development going on, both for X-Plane and Gizmo, is not possible to get the plugin, other than owning an X-Aviation product. Sometime in the future, might be available for free distribution, but that's no one priority now. Your suggestion about what I should, is not welcomed. I think that also you don't like other to tell you what you should do. It is something free, if it is fits you, good. If not, then move on.