ksgy
-
Posts
346 -
Joined
-
Last visited
-
Days Won
26
Content Type
Profiles
Forums
Latest X-Plane & Community News
Events
Downloads
Store
Everything posted by ksgy
-
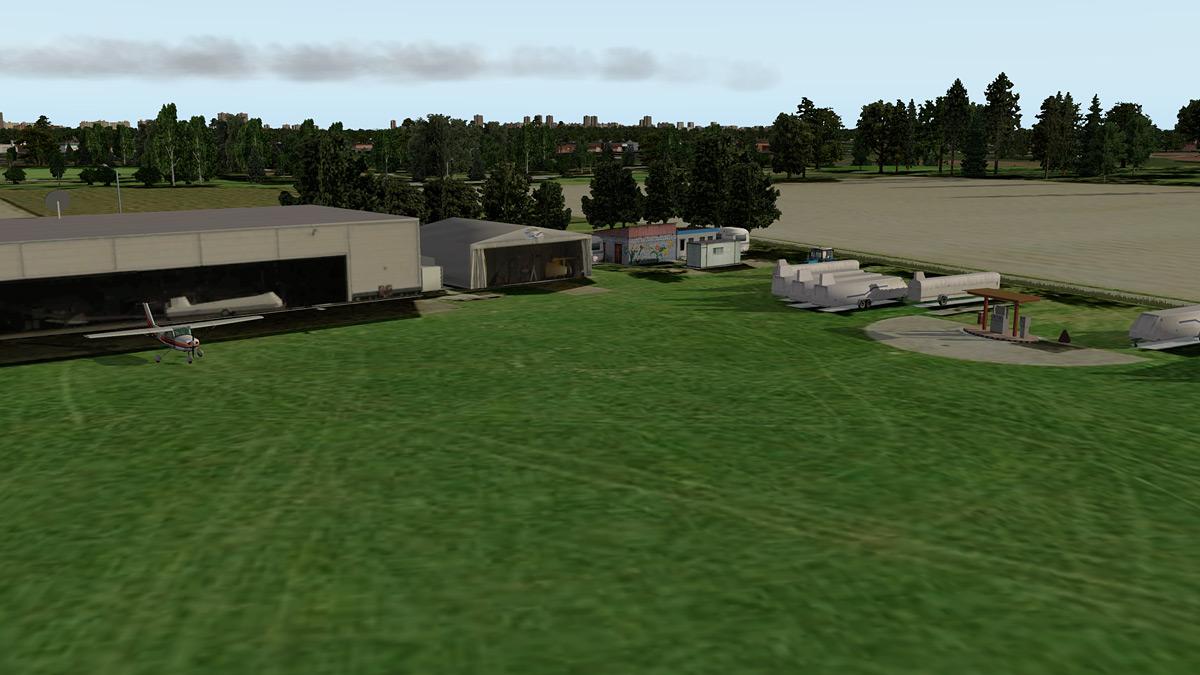
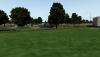
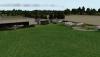
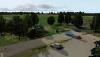
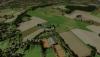
Sorry. Weeks ago I've decided to make this airfield only to XP10. It has much more great features like dynamic lighting, more autogen buildings, etc.
-
BSOD on my face...
-
In v10 the autogen trees has a horizontal layer too, it solves that problem. I meant that the ortophoto layer has trees on it too, so it looks little weird that you have a 3D tree on a 2D tree. If I delete all the trees in ortophoto layers and put some shadow as replacement, it should look ok.
-
Yea, that disturbs me too, so I'll just darken and/or remove most of the trees from the ortophoto layer later.
-
Thanks I'm not satisfied with the color of the trees, and houses are missing. Also I'd like to add some bushes. So, in about 2 weeks.
-
Slowly, but still going on this project too
-
http://forums.x-pilot.com/index.php/topic/4664-how-to-make-real-dirtused-textures/
-
No
-
Thanks The resolution is 2048x2048, but it's just a test. On L-410, I'm using 4096x4096, and there is a separate file for labels for higher resolution.
-
In this tutorial I'll try to introduce how to make real dirt/used/aged/worn textures. Here is the final product we are making: First of all, let's examine how things are layered up on a surface in reality. 1) First layer, from inside to outside is the object itself. It has a material, in cockpit's case: metal, mostly aluminum. 2) Second layer is the painting, in our case black. Well, in reality, black is not back It's black and ALL the colors mixed together. If you take a photo from a black material, then you zoom in it, you'll see something like this. 3) Third layer is the fat from fingerprints. Where-ever you touch a surface, you leave your fingerprint which is a small amount of fat and sweat. 4) Fourth layer is the dirt, smudge which sticks into the fingerprints. 5) Fifth layer is all other dirt: dust, coffee, wiping trail from cleaning before, etc. 6) Sixth layer is the scratches. Not just in the paint, but even in the dirt layers. 7) Seventh layer is more like layer 0, because it's the worn. The missing parts from the paint. 8) The "cleaner" parts where you did not touched the surface, so there in no dust, no fat, no scratches. So how can we achieve this in Photoshop? Let's make an UV wrapped fake instrument, with almost white material, and bake the texture. We get a good start: Then using google, find as much dirt, dust, scratch brushes as much you can. Download and install it to PS. I mark the upcoming layers in red, full opacity to see it easy. 1) Let's do the fake "all" coloring Add a new layer, fill with black, and add noise. Reduce the opacity to about 15% 2) The paint layer Add a new layer, fill with black and reduce opacity to match the color you want to achieve. Mine is 89%. 3) Dirt - the big ones The first layer, which gives us a simple used, dirty texture. Don't be generous. Use 2-3 brushes. Small ones, big ones, paint with it then erase randomly. Then reduce the opacity to barely see it, around 3%. 4) Dirt - the smaller ones Add some smaller dirt "puffs". Randomly, where ever you just want, but watch out, don't cover too much on the big ones - you can easily get a "full painted" areas where all dirt layer matches, so it will be too homogeneous. About same opacity as the big ones. 5) Dirt - darken Add some middle sized dirt puffs again, but now with black, or dark brown color. It helps to make it more non-homogeneous and more real. Opacity about 50% 6) Dirt around edges Now, this one is a little tricky. Think about where dust can stay: where you can't touch it. Near inner corners, near small switches. These things can "hold" dust as they not touched when using the instrument. These dusts can make like islands: Opacity about 7% and the color is a little yellowish white - since the dust is mostly sand and other small parts in the air. 7) Scratches You can make scratches in paint layer to if you wish, but to be realistic, make scratches in the dirt! Make with a black layer then reduce opacity about 20%. So it will overlay and darken the parts which scratched by keys, by your shirt, etc. Of course you can erase from dust layer, but it's harder to fine-tune later. 8) Fingerprint fat, clean parts Just above, there are parts - mostly bigger flat parts - where you barely touch - that means, it will stay more or less clean. Add like the scratches for later fine-tuning possibility: black layer and cover the big flat parts, about 35% opacity. 9) Optional: rust Under the painting - if it's not an aluminum part - rust starts to eat up metal. Or if it's aluminum, it can be base-painted (or prime-painted) with a brown paint. Sometimes when the original paint wear out, the base paint becomes dim. Add a layer with dark brown-orange mix, and paint the corners. Opacity is about 25-30% 10) Worn This is a little tricky. Since we want to maintain our PSD file and not to suck with later changes, we have to make a layer for worn. Simply paint on the edges, don't be generous where you touch the edges: like under the switches. Use use your thumb or wrist to fix your hand, so it get used and paint starts to crack then wear out. After painted, CTRL(or CMD on Mac) click on layer in Layers window. It makes a selection by the clicked layer. Switch to black paint, then hit delete. So, we kept shadows and all things that comes from the baked texture. If you make an other layer for worn, you have to repaint shadows in it. With this simple technique, you can keep, and can simply maintain the PSD later on if some change has to be made. If you precise, you can add inner shadow and outer glow to the black layer, like a sharpen to fake the thickness of the painting. It makes more believable it is a paint-worn, not a texturing error 11) Labels White is a tricky thing too. The white is not white Well, not full white. it's a little grey and/or yellow. You can make it more real if you add some yellow - or I think red if you live in the south hemisphere. Seeing white Could not find this study, but there is one, which states that people on north hemisphere sees the white more real if it has a little blueish color in it. But on south hemisphere, they see more white if it has a reddish color in it. If you find this, please link it I hope this little tutorial helps how to make real aged textures. If you have any questions, let me know. The PSD and the Blender file is attached in a zip file, to study the tutorial tutorial-src.zip PS: sorry for my english. If you find it hard to read, I'll try to re-phrase if you make suggestions how to express myself -- Mihaly


-
Thanks Wrote a long post, then deleted. Will do later today a little tutorial with sample psd file
-
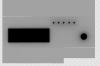
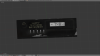
The overhead panel. Only 4 hours of PS, and some blender
-
Thanks for the answers, and sorry for the mix up about IXEG I think I'll wait for Gizmo 12 and check it's features. Meanwhile I'll look into SASL and current Gizmo and will make a final decision later. I found this: https://sites.google.com/a/x-plugins.com/www/gizmo/downloads - are these the latest gizmo plugins? Seems like linux builds doesn't have LuaJIT enabled. Or is there somewhere else available a more recent version? In general, I don't like 2D popups in planes, so drawing on panel or opengl is not required for me. More like creating and using own datarefs based on own calculations. Gizmo seems more reasonable decision cause of future support, SASL's destiny and continued development is not guaranteed as I see now. Thanks again for clarifications for both of you
-
Hi, I'm very puzzled about choosing between C/C++ and Lua as main plugin language for my L-410. Looks like Lua language is much more efficient in development time, but in the other hand C/C++ is much faster. Since I'm planning to implement almost all the system functionality to L-410, a question came up: is it worth to use Lua? As IXEG team uses SASL for systems, I prefer to use that too. But don't know if it can handle lot of calculations effective, and also I prefer not to use script language as good programming sense says C/C++ is the right way of doing this I'm writing a complete engine model (initially in JavaScript for easy debugging) to cover performance graphs in manual. E.g. here is an example for ITT: http://x-plane.hu/temp/L410/model/ (change black (thr) and/or green (spd)). Source: http://x-plane.hu/temp/L410/model/engine.js There are some interpolation calculations in code and this is just ITT (fuel consumption, N1, N2, oil temp, hydraulics, etc will to come). Can Lua handle this kind of math? So convince me! Thanks for answers.
-
The middle console is done. Some small items left to do (like normal maps, tiny color corrections, text on Flight Data Recorder) but I'm very satisfied with the result. I've learned a LOT this weekend. The last little panels took less than an hour to texture it up fully - with all the dirt, scratches, labels, etc. I think I'll make a clean version too, but as I've seen on airliners.net, none of them are clean... So, it's time to move on. Next will be the overhead panel. Still no date on release, but things getting faster. PS.: I have a lot of ideas how to make this plane more real, e.g.: when you download the plane for first, you get a clean plane with clean cockpit. With every flight, the plane downloads a little more dirtier texture. After about 20 flights you get to the full-dirty version. Of course you can clean the plane - it replaces the texture with the previous clean version. Hope some day it may be done
-
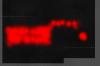
Found: it's a Flight Data Recorder - you can set weight, date, etc. Admins: can you mark this topic solved / closed please? Thanks
-
KONTR yes means "guide" by translation, but I think means "control stg" like "control lamp" (second from left)
-
Asked a friend to translate, here it is:
-
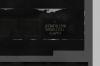
Could be, but based on these words seem like more something else: KOHTP = guide "B3N MACCA" = earth weight AEHb / HoyB (right next to the red light): up: daylight, down: night
-
Hey, I found this instrument on one of my pics about L-410 - which was mostly commuted between Hungary and Romania, some day Bulgaria. Do you have any idea what instrument could this be? Based on words I figured out via google translate maybe a celestial navigation system, on kinda. Thanks in advance!
-
Programming is about halfway done. The engine model is 90% ready, but the IELU (Integrated Electronic Limiter Unit) in nowhere. Still not decided about C/C++ or SASL. In the engine model, there are a lot of math calculations, so preferably C/C++, but will do a test on SASL too. If that works without hitting FPS, I'll use that. Now I'm really enjoying texturing
-
http://kurt-security.com/ They're the best in europe. Maybe they can help to find near your location. Even they can't, you can send them your hard drive to recover data. Hope this helps and good luck!
-
Some colors needs a little tweaking, but now falling asleep at my desk, goodnite