


Leen de Jager
-
Posts
462 -
Joined
-
Last visited
-
Days Won
17
Content Type
Profiles
Forums
Latest X-Plane & Community News
Calendar
Downloads
Store
File Comments posted by Leen de Jager
-
-
Nice liveries.
In the PDF you wrote Leen “Flybike” de Jager’s paintkit was of great help to produce this liveries.
Thats a compliment I do not deserve.
As far as I can recall , I never made such a thing for publishing.
Better said I made a paintkit for myself and used that one for my own liveries.I think you used this one http://forums.x-pilot.com/files/file/564-take-command-saab-340a-paint-kit/ I did not make that one.
-

Excellent job
-

You have my PM
-
I could not find a picture of the original anywhere.
-
Make sure you have "draw per pixel lighting" enabled in SETTINGS > rendering options.
-
Forgot to say , make sure you have "draw pixel per lighting" activated under Rendering Options.
-
Yes you must overwrite the file FINAL_FUSELAGE_NML.png. ( the original is actually not a proper working normal-file )
120 + downloads have been done and till now you are the only one having troubles.
A am afraid somewhere you made a mistake.
-
I like the paint , but why this registration? In real this livery/registration does not exist.
As far as I know this registration was used for an Airbus and a Boeing 737.
Another detail, the wingregistration ( left-under) is missing.
Leen -
Must say first , everywell done paintjob!!!
Some remarks:
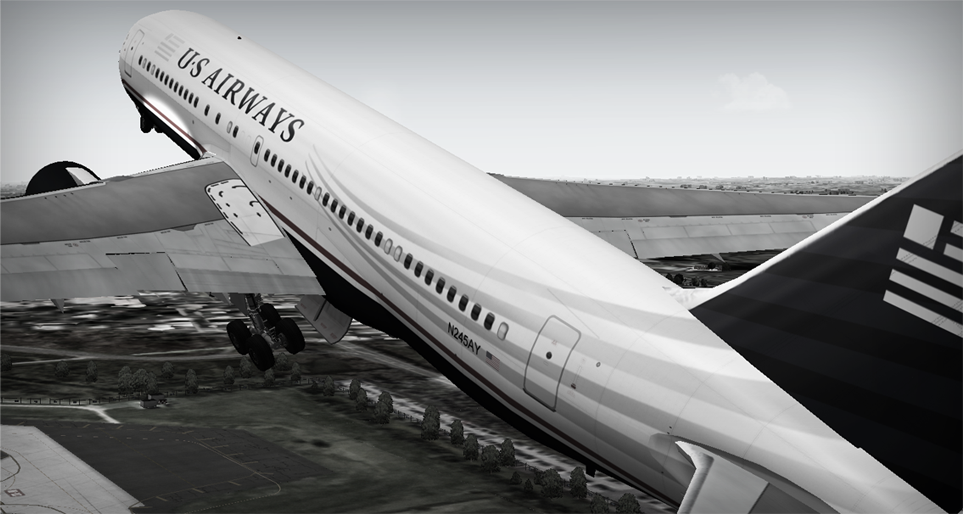
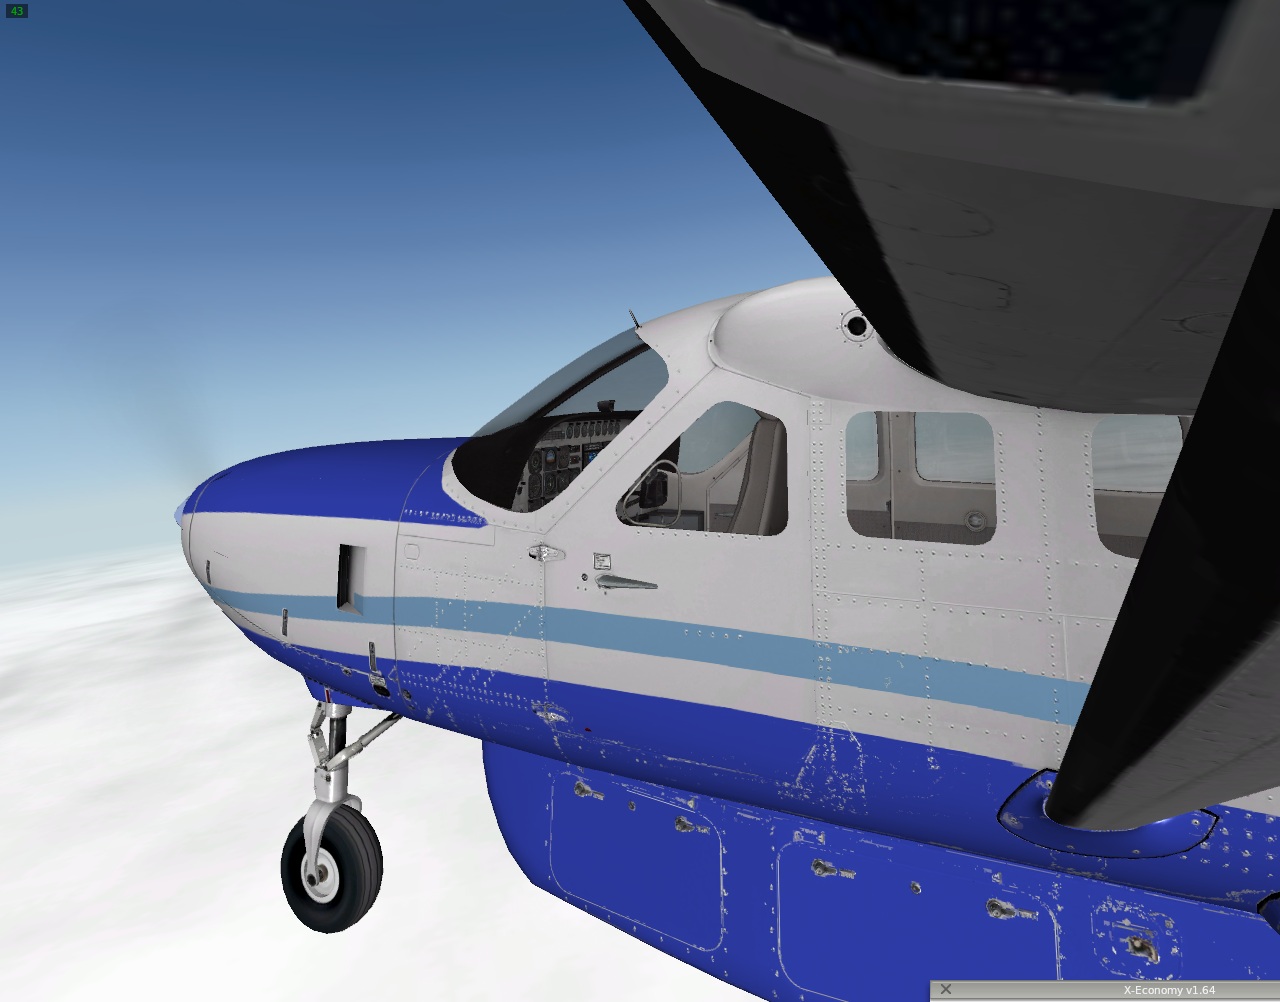
Red stripe and registration missing on blue front-wheel hatches.
USA flag should be mirrored on the right side of the fuselage.
On most airplanes the flag is always waving in the flightwind like it was on a pole. -
Don`t you want to enhance the quality and sharpness of the liveries?
Simply enlarge the base texture you have to e.g. 2048x2048 and start painting from there.
Enlaging the base texture will not enhance the sharpness of the base texture , the paintwork you add however will be of significant better quality. -
Very good paint.
Nevertheless a question.: Why did you make this paint on such a low resolution?
Not saying you must use 4096x4096 , 2048x2048 will give a much sharper result.
Leen -
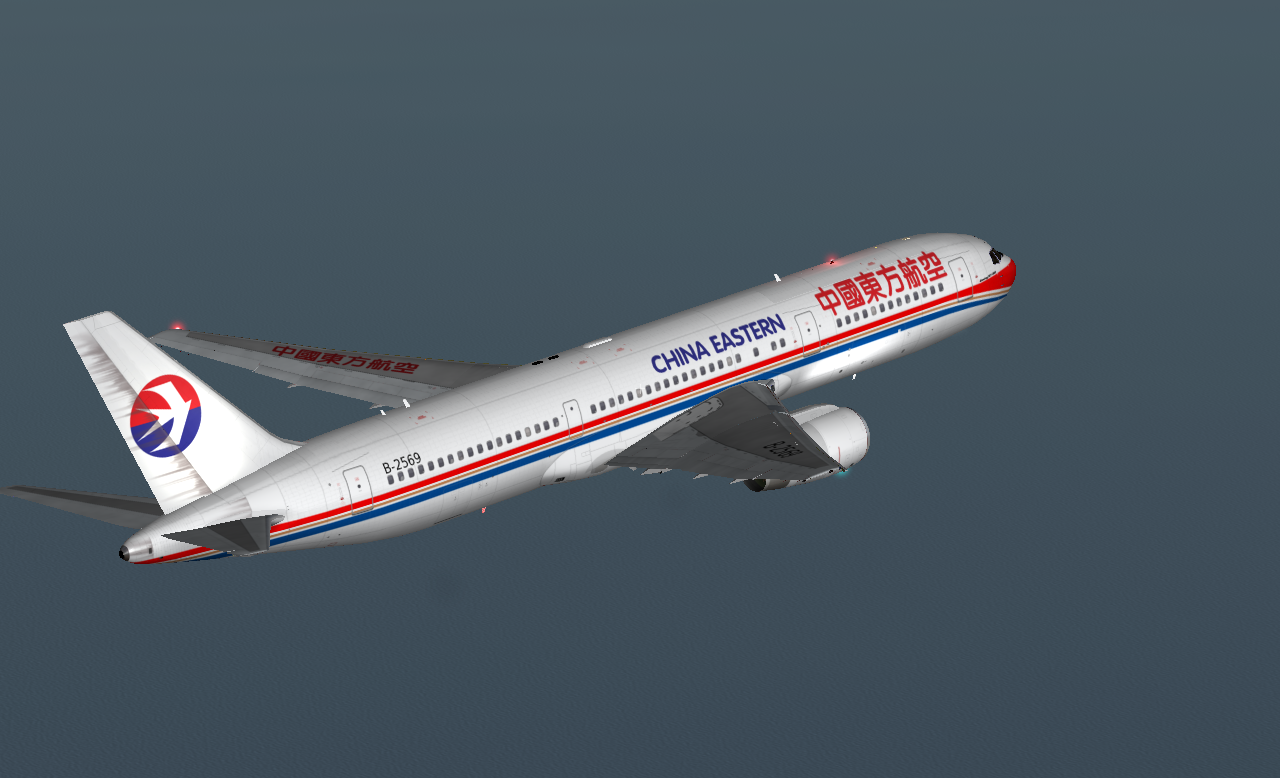
Splendid paint ,nevertheless I agree with Shane ,I even have some more comments.
In my opinion:ALL characters are to big (registration,western and chinese text)
Incorrect font-type used for China Eastern
Chinese text on right side should be mirrored, on both sides of the plane the 中 should be the character nearest to the front of the fuselage
Wingregistration right-under (chinese) should be black instead of red.
-

Your`e welcome.
Check your personal messages !!
-
Ohhhhh....................thats really amazing.
RESPECT !!!!!! CHAPEAUX!!!!!!
This is real top-class artwork!!
This needs a sixth star!
Leen
-

Excellent paintwork ( except for the enigine lit file [ Engine_LIT.png ], wich easily can be removed from the download, the original LIT file is correct for this livery)
-
Why are you "normally disliking normal-maps" ?
Generally spoken I dislike models having no (funtional) normal-maps.
-
Fantastic paint.
Looking at this quality makes me happy.
-
Extremely well done , my compliments.
-
Forgive me for giving some thoughts.
When opening the download I find a file named Fusewhole.xcf.
This is a Gimp file ( wich is approx 5Mb , wich is 50% of the total of the download ) ,this file however has no function in X-Plane.( is only for painters`s use)
Opening this file I see the layer for the underside of the fuselage NOT been set to multiply wich results in details on that part of the fuse being not visible.
As you saved the Fusewhole.png from this file, the png is also missing those details.
Just a mistake.
I am not talking about quality of the painting ( I perefer not to comment on graphic-quality unless I am explicit asked to ) , I am just talking about the techniques used and some special items which need attention.
Another thing what got my eye is the fact that this livery ( as well as some other liveries you made) is missing things like registrationmarks and national flags on the fuselage.
These are very simple to make ,most fonts are available on the internet and flags give no problem either.
With flags ,keep in mind ,on allmost all aircraft ,the pole-side of the flag is positioned towards the cockpit.
Wich,simply said, means, almost always the flag needs a horizontal flip when placed on the right side of the aircraft.( needs to be checked every livery ).
This rule many times also applies for signs , heraldic shields , and animals ( birds prefer flying forwards).
Regards
Leen
-
Very good , thanks.
-
For making bolts and rivets showing in a paint ,use a layered texturefile.
When you have a white plane just showing rivets and lines, open that file in a program like Photoshop (pay) or Gimp(free)
Go to the checkbox "layers" and add a layer.
Paint on this layer the colors you want.
NOW all rivets and lines are invisible BUT if you go to the "layer-properties" and set this layer in the "multiply" mode all rivets and lines will show up again , but now in the color of your choice.
This is the way it has to be done.
There are more "layer-properties" than multiply alone with all sorts of effects , just take multiply for a start.
Search for some tutorials on the internet about "painting with layers" there are dozens of them.
Cheers
Leen de Jager
-
For making bolts and rivets showing in a paint ,use a layered texturefile.
When you have a white plane just showing rivets and lines, open that file in a program like Photoshop (pay) or Gimp(free)
Go to the checkbox "layers" and add a layer.
Paint on this layer the colors you want.
NOW all rivets and lines are invisible BUT if you go to the "layer-properties" and set this layer in the "multiply" mode all rivets and lines will show up again , but now in the color of your choice.
This is the way it has to be done.
There are more "layer-properties" than multiply alone with all sorts of effects , just take multiply for a start.
Working the way you did , produces shabby white rivets on a blue painted fuselage , while a blue fuselage simply has blue rivets.
Search for some tutorials on the internet about "painting with layers" there are dozens of them.
Cheers
Leen de Jager
-
Just open the obj file with a text editor like Wordpad for Windows or its Mac equivalent.
Making a backup of the file first, might be not a bad idea.
-
Thanks for your kind words , I start blushing.
Airborne Imaging was US based
Braniff was,
Quetzecoatl was
Virgin Islands was
Now I am working on the mother of all DC3`s the "DST" Douglas Sleeper Traveller ( wich was re-batptised to DC3 later on) flown by American Airlines.
That makes five out of ten ( or eleven ) being representing the US.
Not bad for an European based texture-artist isn`t it?
Cheers
Leen


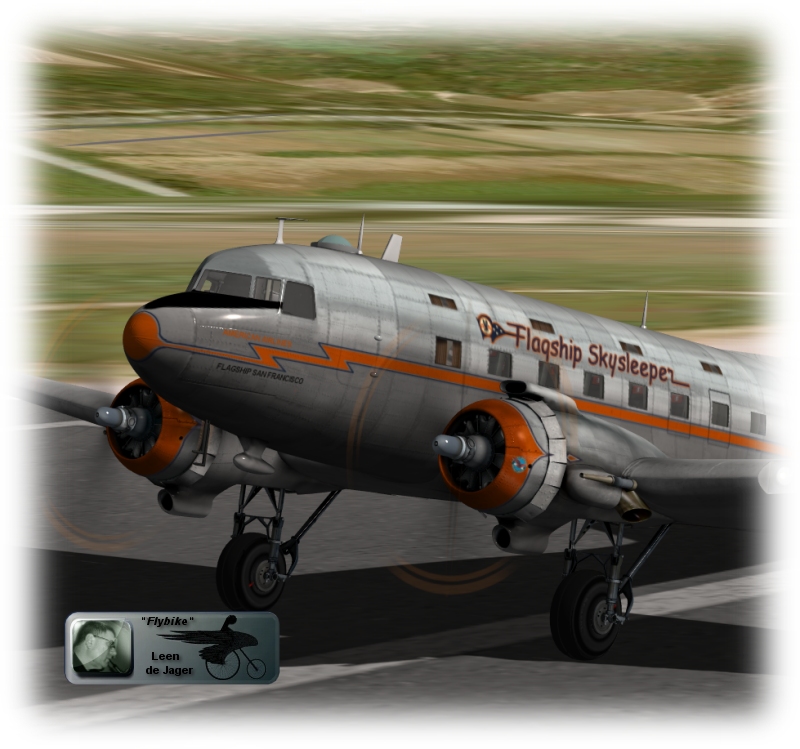

Southern DC3 - ZK-AMY
in Vintage
135 4Posted
Extremely well done !!!!
Chapeaux!!!